
Lieferung heute & morgen

Qualitätsgarantie

Willkommens-Angebote freischalten: KOSTENLOSE Lieferung | Bis zu 80 % RABATT | Kostenlose 30-Tage-JoyPlus-Testphase
App herunterladen
A 5D diamond painting kit combines a pre-printed design with small resin or plastic gems that are placed onto a self-adhesive canvas. Depending on the design, the finished result can become a decorative wall piece, a handmade gift or a manageable DIY project for relaxing afternoons.
Choosing the right kit may seem straightforward at first glance. However, terms such as “5D”, “Full Drill” and “diamond art” can create different expectations. Checking a few technical details before buying helps you avoid a kit that does not suit your available space, patience or preferred level of difficulty.
The term 5D generally refers to the faceted, light-reflecting effect of the gems. However, it does not automatically indicate how clear the printed design is, whether the entire surface is covered or how comprehensive the accessories are. For comparison purposes, specific details such as size, gem shape and Full Drill format are therefore more helpful than the number alone.
A 30 × 40 cm picture is a popular size for diamond painting for adults. Even so, it requires a flat work surface and secure storage to prevent dust from settling on the adhesive area. Larger formats such as 30 × 50 cm can display more detail, but they will generally also extend the time needed to complete the project.
A landscape with numerous colour changes, a floral diamond painting featuring delicate petals or an animal diamond painting with high-contrast fur can vary considerably in difficulty. Clear designs and smaller formats are often better suited to beginners. Diamond painting for children should also only be used in accordance with the recommended age and with due consideration for the small parts included.
With a Full Drill diamond painting, the entire printed surface is covered with gems. This creates a consistent all-over sparkle effect. In a partial drill design, certain areas remain uncovered, such as the background. The product description should clearly state which format is included.
Round diamonds are slightly easier to pick up and place because small gaps can remain between the individual gems. Square gems fit more closely together and can create a more uniform grid, but they generally require more precise placement. The key consideration is which gem shape is specified for the particular diamond art kit.
The format affects both the level of detail and how the finished piece can be used:
Also check whether a frame is included. Many kits contain only the canvas and accessories, so a separate picture frame may be required for presentation.
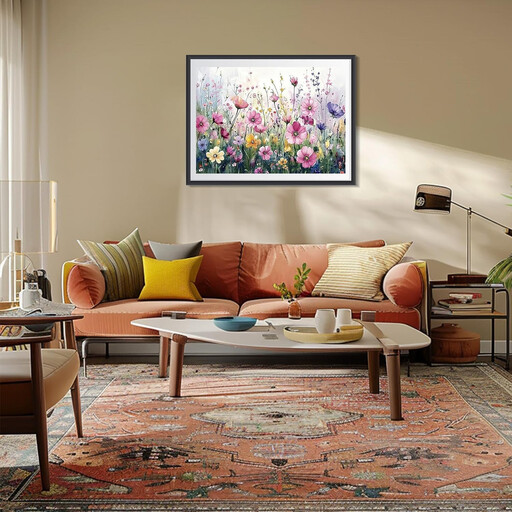
Why does it suit this profile? The 30 × 40 cm floral design is intended for adults, beginners and older children, making it a manageable DIY project.
The clearly stated size makes it easier to plan the work surface and eventual wall display.
Floral design; 30 × 40 cm; designed for adults, beginners and children.
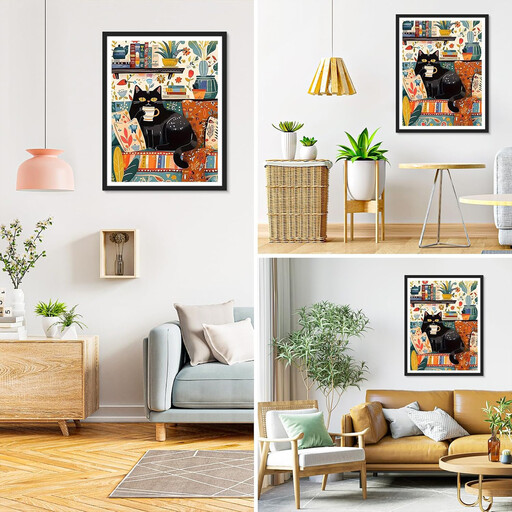
Why does it suit this profile? The animal design is described as Full Round Drill and is aimed at adults who prefer an entirely gem-covered image.
The Full Drill specification prevents a partial design from being mistaken for a fully covered kit.
Full Round Drill; black cat design; 30 × 40 cm format.

Why does it suit this profile? The 30 × 40 cm landscape can be enjoyed as a DIY diamond art project and later displayed as wall décor.
The precise size makes it clear whether the picture will suit the intended space.
Aurora landscape; Full Drill with round diamonds according to the product description; 30 × 40 cm.
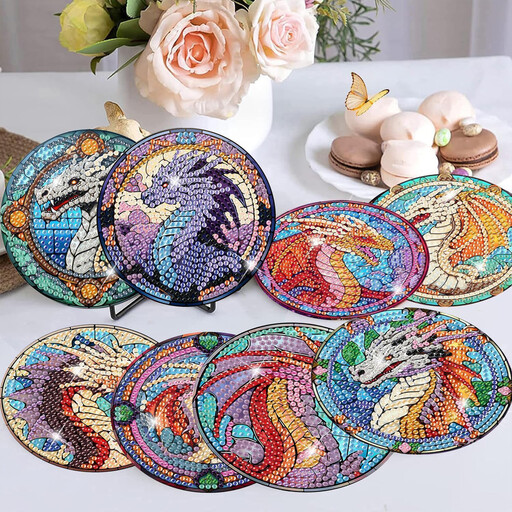
Why does it suit this profile? Eight 10 × 10 cm coasters offer several smaller projects and can be given as a creative craft set.
The smaller individual size reduces space requirements, while the number of pieces is clearly stated in the product name.
Eight pieces; round gems according to the product description; stand included according to the set details; 10 × 10 cm per coaster.
For a neat result, use a well-lit, low-dust work surface. If possible, expose only a small section of the protective film at a time and keep the remaining gems sorted separately by colour code. A labelled organiser box can help prevent mix-ups.
For longer projects, short working sessions can make the process more manageable. Do not roll or fold the canvas too tightly, as this can affect both the adhesive surface and the printed design. Once the gems have been placed, gently press them down with a flat object. If you plan to mount the finished piece on a wall, allow separately for a suitable frame or another appropriate presentation solution.
Our complete selection includes a variety of designs, formats and finishes for your DIY project, along with complementary products from the diamond art craft range.
Lay the canvas flat, identify the colour code and initially remove only a small section of the protective film. Use the included pen to pick up the gems and place them according to the symbols. For beginners, smaller formats and clearly defined designs are often easier to organise.
Its longevity depends, among other factors, on the canvas adhesive, how firmly the gems are pressed down and where the finished piece is stored or displayed. Direct sunlight, moisture and frequent rubbing can affect its appearance. Displaying the finished picture in a dust-protected setting, such as behind glass, can help shield it from external influences.
A traditional DIY diamond painting normally requires neither electricity nor consumables while you are creating it. Additional expenses may arise for organiser boxes, a work mat, a frame or replacement gems. With a diamond painting coaster set, it is also worth checking whether the finished coasters are suitable for their intended use.