Photographing carved details
To show fine recesses and edges, position the light to the side of the candle arch. The Canadian Conservation Institute explains that raking light emphasises surface texture.


For clearly visible carved details, choose a light that can be positioned to the side and adjusted, then check the shadows in test shots. The Canadian Conservation Institute explains how raking light brings out surface texture. To make the overall subject more evenly visible, diffusion or a little fill light may help, although strong diffusion can reduce the contrast in the relief. Also match the light’s colour to your surroundings and check that the mounting and power supply suit your shooting space.
To show fine recesses and edges, position the light to the side of the candle arch. The Canadian Conservation Institute explains that raking light emphasises surface texture.
To make the whole subject easy to see, balance even coverage against the shadow effect you want. Adobe explains that direct, hard light can create strong contrast and sharp shadows.
When space is limited, the mounting, power supply and contents of the specific package all matter. NEEWER and Ulanzi’s product details show that these can vary from one light to another.
A good fit if: You want to light individual carved details from close up and move the light around frequently.
Consider: Check how well it lights the whole arch and whether a suitable mount is included.
A good fit if: You want to light the entire candle arch and adjust the colour of the light to suit your setup.
Consider: Diffusion can soften harsh shadows, but it may also reduce the shadow definition that helps bring out carved details. Adobe explains the link between hard light and pronounced shadows.
A good fit if: You want to direct the light over the carvings and adapt your setup to suit each subject.
Consider: The modifier, mount and space available must suit the specific model. The light’s output alone won’t tell you how it will illuminate the subject with a modifier attached.
| Priority | What to check before buying | Who it matters most to |
|---|---|---|
| Fine carved details | Side positioning and adjustable brightness; take test shots from different lighting angles. | If I want to show recesses and edges clearly, I position the light to the side. Around 36% of consumers put the visibility of fine carved details first. |
| Whole subject | Check the lighting with your own setup; adjust the position and diffuser to suit the details you want to show. | If the whole candle arch needs to remain visible, I make sure individual areas aren’t left too heavily in shadow. Around 29% of consumers prioritise lighting the whole subject. |
| Wood colour | Check the adjustable colour temperature of the specific light and take a test shot using the white balance you plan to use. | If accurate wood colour matters more to me than pronounced shadows around the details, I compare the shot with the lighting I intend to use. Around 21% of consumers put wood colour first. |
| Space and power supply | Compare the dimensions, mounting options, mains or battery power, and contents of the exact variant. | If my shooting space is tight or I need to change my setup often, I pay particular attention to the mount and power supply. Around 14% of consumers prioritise a space-saving setup. |
Soft, even light can show the overall shape, but fine surface details may be less distinct.
Before settling on a setup, compare side lighting with a more diffused setting on the same subject using test shots.
Manufacturers give illumination figures for specific distances and settings. A lux rating doesn’t automatically tell you how well a diffuser will light your subject.
Only compare figures measured on the same basis, and check the light distribution where you’ll actually be setting it up.
What’s included and how the light is powered can vary by model and variant.
Check the contents of the specific variant against your planned setup.
Depending on the model, you may also need compatible batteries, a mount or a light modifier. NEEWER explicitly states that NP-F batteries aren’t included with the NL660; whether a tripod is included depends on the variant you choose.
The Candela 100 Bi-Color is one option for a directional, adjustable setup. According to Rollei, the LUMIS Key Light Pro is designed for desk and streaming setups.
The NL660 bi-colour panel is an option for a broader, shapeable lighting setup.
The P260C Pro is a bi-colour panel for adjustable desk or studio lighting, while the SL100Bi is a directional light.
The VL49 without the RGB add-on is a small light for close-up detail shots, provided you have a suitable mount.
The P60x is a directional bi-colour panel for setups where you want to choose the angle of the light precisely.
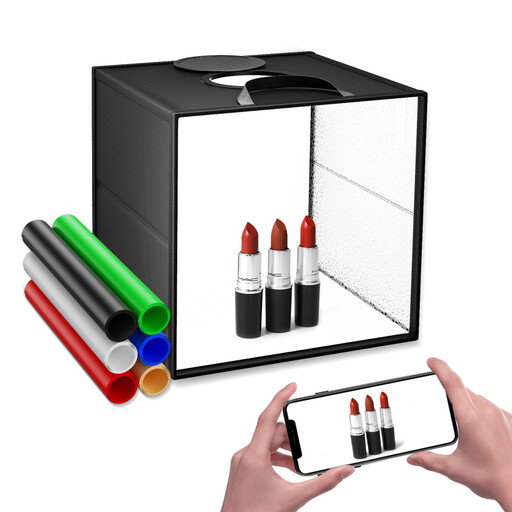
This selection includes portable camera lights, video lights with adjustable colour temperature and a 30 cm foldable light box for small product shots. In particular, check that the light box is large enough for your candle arch.
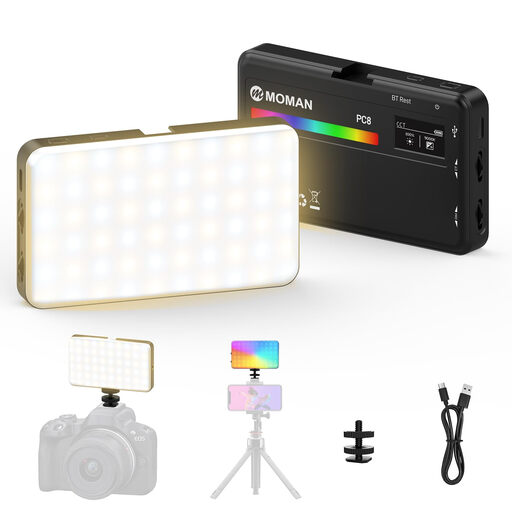 No image available
This portable model is suited to a compact camera-light setup.
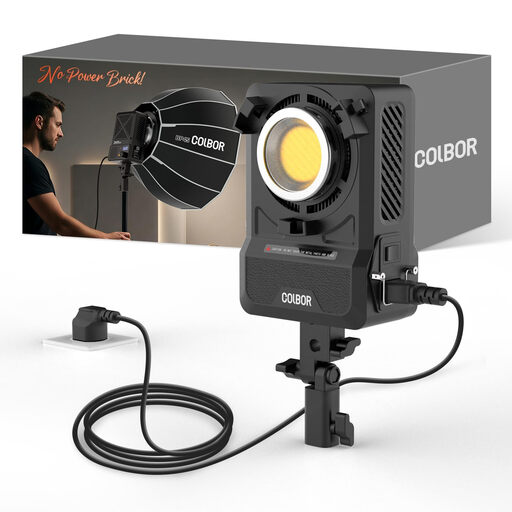 No image available
The bi-colour controls and Bowens mount are useful if you’re planning to use a compatible light modifier.
200 W; built-in mains adapter; 2,700–7,000 K; Bowens mount.
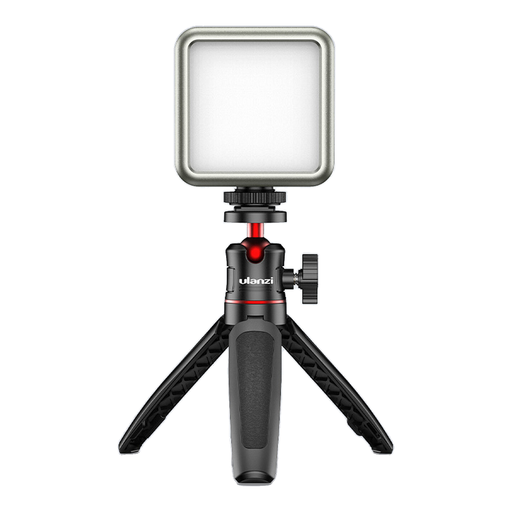 No image available
This compact model could suit a setup where you plan to use a magnetic mount.
2,000-mAh battery; dimmable; 2,500–9,500 K; rear magnet.
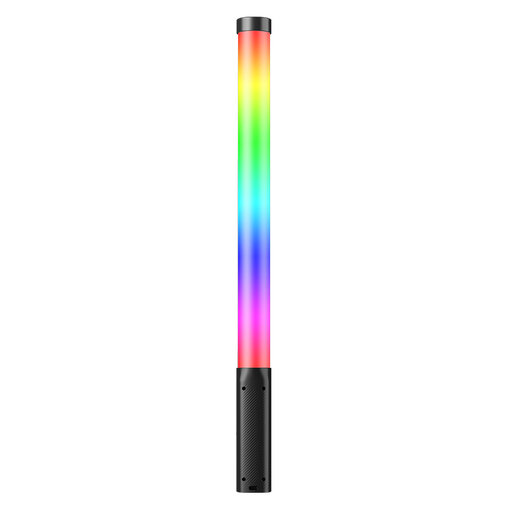 No image available
As a handheld light, it’s an option if you want to reposition the light precisely while taking photos.
10 W; 3,300-mAh battery; 2,500–9,000 K; 360 lux at 0.5 m.
 No image available
According to the product description, this light box is designed for small products and still-life shots, not for a large subject in its entirety.
120 LEDs; three colour temperatures; nine dimming levels; six-colour background paper.
Start with light from the side, then adjust the angle based on test shots. The Canadian Conservation Institute explains that light falling at a shallow angle emphasises surface texture. If parts of the arch look too dark, you can carefully add softer light or fill light.
No, the natural light from a nearby window may be enough for your setup. Controllable continuous lighting helps you assess the effect before you take a shot. You can check whether the light you already have is sufficient by taking a test shot.
Only if the measurement conditions, such as distance and settings, are comparable. A lux rating at a particular distance doesn’t automatically tell you how well the light will illuminate your candle arch with a diffuser or modifier.
Depending on the model and variant, you may need compatible batteries, a tripod, a mount or a light modifier. For the NEEWER NL660, the manufacturer explicitly says NP-F batteries aren’t included and offers variants with and without a tripod.
No, it isn’t a general independent quality mark. According to the European Union, CE marking is required only when relevant EU rules call for it. The Federal Network Agency lists aspects such as marking, product identification and instructions among the points it checks during market surveillance.