Photographers with dark sides on their pieces
If the window is your main light source, you can use a reflector or a carefully positioned panel to brighten the shadow side without losing the definition of the pieces.


If the window is already your main light source, a reflector is the simplest first step. A dimmable LED panel is worth considering when you want to brighten the shadow side in a controlled, repeatable way. Nikon demonstrates how to combine window light with a reflector. If you opt for a panel, choose its size, adjustable white light and mounting to suit your setup. Manufacturer claims about colour rendering are no substitute for testing your chess pieces in a sample shot.
If the window is your main light source, you can use a reflector or a carefully positioned panel to brighten the shadow side without losing the definition of the pieces.
When photographing different wood, paint or plastic finishes, choose a setup that lets you adjust the light colour and white balance deliberately, then check the results in your images.
If there’s little room by the window, make sure the light, mounting and power supply suit your board and the space you have to work in.
Right for you if: you take photos occasionally and a reflective surface is enough to brighten the shadows.
The trade-off: how much you can brighten the scene depends on the amount of window light available.
Right for you if: you want to light individual pieces on a small table or move the light around easily.
The trade-off: check that the panel’s light area and output are sufficient for several pieces or a larger workspace.
Right for you if: you’re lighting several pieces or using a repeatable tabletop setup, and have room for the light and its mount.
The trade-off: the larger size takes up more space. Depending on the model, you may also need a battery or tripod.
| What you need | What to check when buying | Who is it important to? |
|---|---|---|
| Brighten shadows with control | Dimming and positioning options; assess the light area against your arrangement of chess pieces. | If I want to brighten the side facing away from the window while keeping the contours visible, adjustable light output matters. Around 36% of consumers prioritise controlled shadow fill. |
| Match colours | Check the colour temperature range and colour rendering of the specific model; recheck the white balance if the window light changes. | When I photograph pieces in different colours, I want to match the LED light and white balance deliberately. Around 29% of consumers prioritise consistent, accurate colour reproduction. |
| Light several pieces consistently | Check the dimensions, adjustment options, stability and whether a mount is included. | When I photograph several pieces or a series, I want to keep the light position and composition as consistent as possible. Around 21% of consumers prioritise a repeatable setup. |
| Work at a small table | Check the mounting options, dimensions, battery type and what’s included with the specific version. | If there’s little room beside the board or no convenient mains socket, a compact setup with a suitable power supply matters to me. Around 14% of consumers prioritise portability and space-saving design. |
A reflective surface can brighten the shadow side using the window light you already have, without adding a second light source.
Start by comparing a shot without any fill light with one taken using a reflector. Only add a panel if you need more precise, controllable lighting.
An extra light needs its own space and must be positioned suitably beside the board.
Manufacturer specifications describe the light itself. Changing window light and white balance also affect how the colours of your pieces appear in a photo.
Match the panel and white balance to the current scene, then check both light and dark pieces in a test shot.
If the window light changes, you may need to take new test shots and adjust the white balance again.
You need to be able to position the panel securely beside the board and keep it powered for as long as you plan to shoot.
Before buying, check what’s included, how the light is mounted and how the specific version is powered.
Depending on the model, you may need a tripod, battery or other mounting accessories for your planned setup.
The P60x is a bi-colour panel for a controllable tabletop setup. Aputure lists a colour temperature range of 3200 to 6500 K.
The LP-Bi range includes panels with different output levels. The LP400Bi is one of the smaller bi-colour options listed by Godox.
The LUMIS LED Panel Bi-Color is a larger panel for photography and video setups.
The Vibe P96 is a compact supplementary light for individual pieces and confined setups.
The VL81 is a small, rechargeable light for portable tabletop setups.
The portable photography and video lights below are designed for small setups where you can adjust the light colour or mode to suit the window light.
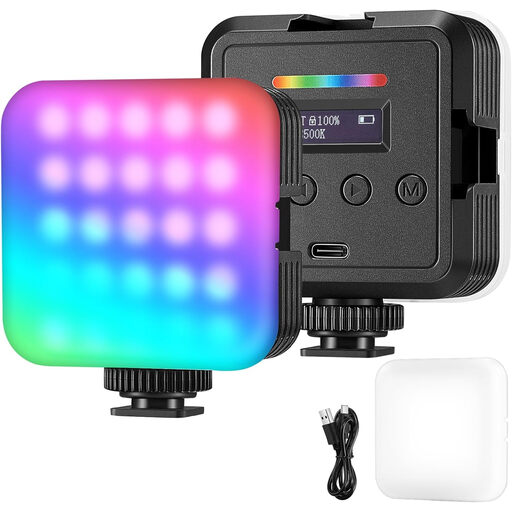 No image available
The product title describes a portable light for photography and video.
RGB and adjustable lighting modes are listed.
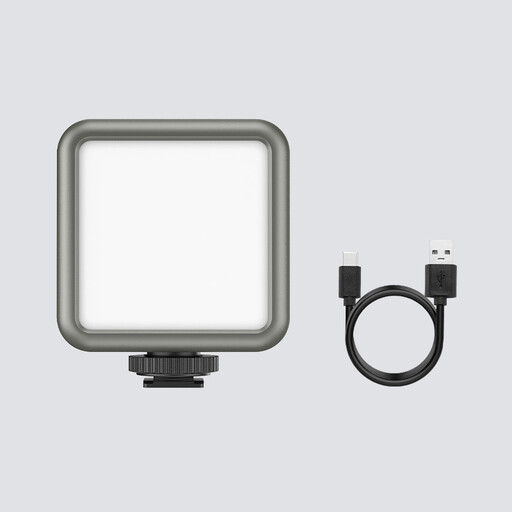 No image available
With its built-in battery, this compact light is designed for a setup that’s easy to move around, according to the product title.
Features listed include dimmable 2500–9500 K and magnets on the back.
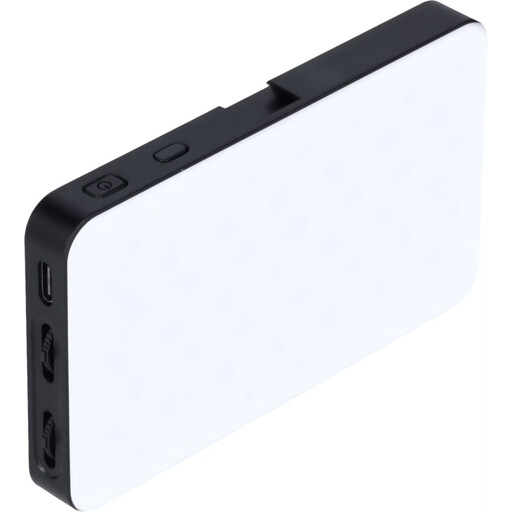 No image available
Its compact size makes it suitable for a small tabletop setup.
The product title lists 360 colours, bi-colour and app control.
Start by using the window as your main light source, then check the shadows with a reflector. If you need additional controllable light, position the dimmed panel on the shadow side and compare test shots before increasing the brightness.
Recheck the white balance whenever the light changes. Nikon recommends adjusting it to suit changing lighting conditions. An adjustable LED colour temperature is no substitute for this adjustment or for checking the finished image.
Check whether the specific version includes the mount and power supply you need. Rollei explicitly states that NP-F batteries for the LUMIS LED Panel Bi-Color aren’t included. You can’t assume other models come with the same accessories.
Electrical LED lights covered by EU regulations requiring CE marking must meet the applicable conformity requirements. For lighting products, the German Federal Network Agency lists points to check including labelling, product and manufacturer identification, and the required user instructions and safety warnings in German. A CE mark alone isn’t an independent quality seal.
No. The Verbraucherzentrale distinguishes statutory warranty rights for faults, which you exercise against the seller, from a guarantee: an optional extra offered on the terms and conditions set by the guarantor.