
Lieferung heute & morgen

Qualitätsgarantie

Willkommens-Angebote freischalten: KOSTENLOSE Lieferung | Bis zu 80 % RABATT | Kostenlose 30-Tage-JoyPlus-Testphase
App herunterladen
Strategically enhancing your facial features with contouring can add structure and depth to any makeup look. However, the final result depends heavily on the tools you use. An unsuitable brush can lead to harsh lines or patchy results, while the right contour brush seamlessly blends product for a naturally defined finish.
This guide is here to help. We'll introduce different brush types and explain which features are best for specific applications and products. Our goal is to provide you with the information you need to make an informed purchasing decision.
Selecting the right tool can make applying contour products significantly easier. Three key criteria will help guide your decision: brush shape, bristle material, and intended use.
The shape of the brush head determines how precisely or broadly a product can be applied.
Modern vegan makeup brushes with high-quality synthetic bristles offer significant advantages. They are less porous than natural hair, meaning they absorb less product. This makes them particularly efficient for use with liquid or cream textures. A brush for cream contour should therefore always be made of synthetic fibres to ensure a streak-free result. They are also durable and easy to clean.
Many brushes are versatile. A large, soft contour brush can often double as a bronzer brush for a sun-kissed glow or as a blush brush to apply colour to the cheeks. Before buying, consider whether you're looking for a specialised tool for a specific task or an all-in-one brush for multiple steps in your routine.
Based on shape, material, and versatility, we've curated a selection of brushes that cater to different needs.
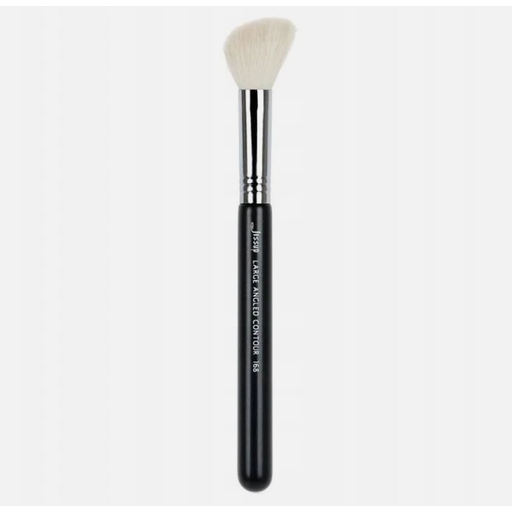
Why It Shines: The Jessup 168 is a classic, large angled brush designed for quick and effective contouring. Its size allows you to create shadows under the cheekbones, along the jawline, and at the hairline with just a few strokes. The soft bristles pick up powder products well and distribute them evenly, making blending easier.
Advantages:
Best For: Users looking for a reliable and versatile tool for daily contouring with powder products. Its size makes it ideal for quickly defining larger areas of the face.
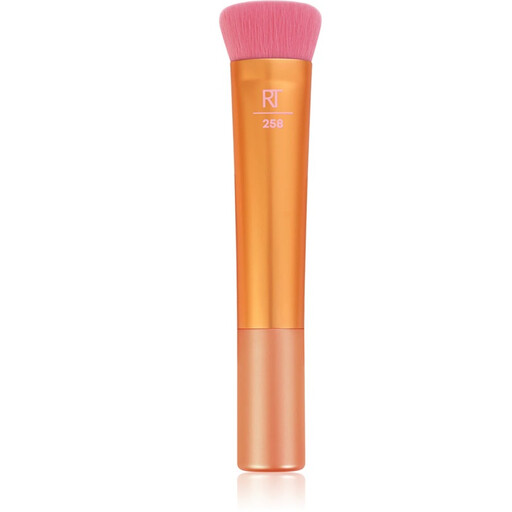
Why It Shines: This sculpting brush from Real Techniques features a densely packed, curved brush head. This shape is specially designed to seamlessly work both cream and powder products into the skin. The dense bristles ensure a full-coverage yet naturally blended result without harsh lines.
Advantages:
Best For: Makeup beginners and lovers of cream products. Anyone looking for a tool that enables effortless blending and is suitable for various formulas will find this a great option.
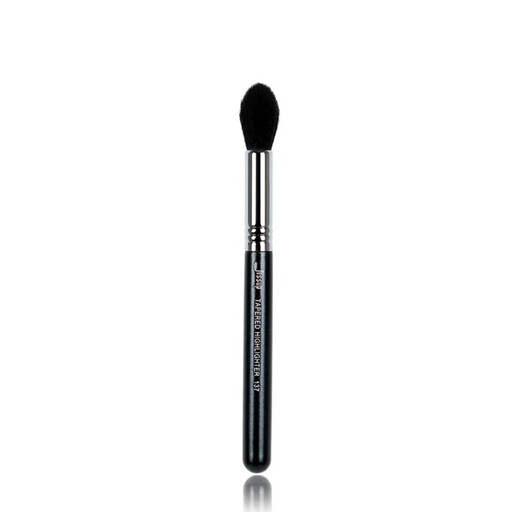
Why It Shines: The Jessup 137 is a precise makeup brush for contouring and highlighting. Its tapered shape allows for very targeted product placement. It's ideal for drawing fine lines along the nose, defining the area under the lip, or applying highlighter exactly on the cheekbones, brow bone, and bridge of the nose.
Advantages:
Best For: Users who need a specialised tool for precise highlighting and detailed contouring of smaller facial areas. It's an excellent complement to a larger contour brush.
Choosing the right brush is a crucial step in achieving your desired makeup result. If the models presented here don't exactly meet your needs, or if you're looking for complete sets, there are more alternatives to explore.
Discover our full range of Contouring Makeup Sets and find the perfect tools for your look.
For cream contour products, brushes with densely packed, synthetic bristles are the most suitable. They pick up creamy textures well without absorbing too much product and allow for even, streak-free blending. A firm, rounded sculpting brush or a dense angled brush are great options for this.
Yes, many contour brushes are multi-functional. A large, angled contour brush can often be used as a blush brush. A smaller, tapered brush designed for precise contouring also works excellently as a highlighter brush. It's advisable to clean the brush between uses to avoid mixing colours.
Regular cleaning is important for hygiene and the brush's performance. Use a mild soap or a special brush cleanser and lukewarm water. Gently lather the bristles in the palm of your hand, rinse them thoroughly until the water runs clear, and carefully squeeze out the excess moisture. Lay the brush flat on a towel to dry, ensuring no water gets into the metal ferrule, which could loosen the glue.