What should you look for when buying?
Existing light with a reflector
Best for: occasional photos of individual samples, when you can already control the light and shadows.
The trade-off: If the light changes, you’ll need to check the exposure and white balance again.
Compact, dimmable panel
Best for: selectively lighting a single sample or specific details on a small table, with a light that’s easy to reposition.
The trade-off: The smaller light source may appear as a distinct reflection on glossy glaze. Diffusion and a secure mount are important points to check.
Larger bi-colour panel with diffusion
Best for: regularly photographing several samples for comparison, with room beside the table for the light, modifier and mounting equipment.
The trade-off: The panel, diffuser and stand all take up space. Manufacturer claims about colour rendering don’t replace setting the white balance or taking a test shot of the actual glaze.
When photographing glaze samples on a small table, your priorities depend on whether you mainly want to control reflections, compare colours, save space or create a repeatable shooting routine.
| Priority |
What to check when buying |
Who it matters most to |
| Reflections and glaze texture |
Diffusion and an adjustable light angle; room for a reflector or flag. |
If I want to show a glaze’s sheen without reflections obscuring its details, I need a light source I can position precisely; around 29% of consumers put reflection control first. |
| Comparing colours |
Adjustable white light and dimming; check the white balance against a neutral reference. |
If I take glaze test photos repeatedly, I want to minimise colour shifts caused by changing ambient light; around 29% of consumers prioritise colour comparison. |
| Fitting the light on a small table |
Dimensions and mounting; check whether the diffuser and stand are included with the specific variant. |
If there’s little room for equipment alongside my sample and camera, the light needs to fit securely into the setup; around 24% of consumers are most concerned about the space it takes up. |
| Preparing a series of shots |
Power supply or compatible battery; check the accessories you need and what’s actually included in the package. |
If I want to take repeat photos without unnecessary extra equipment, the power supply needs to suit the shooting location; around 18% of consumers prioritise a straightforward workflow. |
Joybuy products for tabletop photography
The Joybuy products below include light boxes for small product shots and a compact LED light; they aren’t standalone LED panels specifically marketed as such.
 No image available
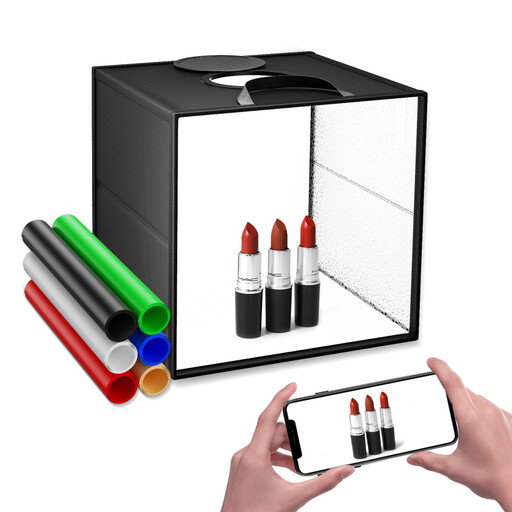
Foldable LED photo light, 30 cm, 120 LEDs
Its foldable design is described as suitable for small product subjects; it’s a photo light or light box, not a standalone panel.
The product description lists three colour temperatures, nine dimming levels, diffusion fabric and CRI above 95. Front and overhead openings and six backdrop papers are also specified.
Joybuy
 No image available
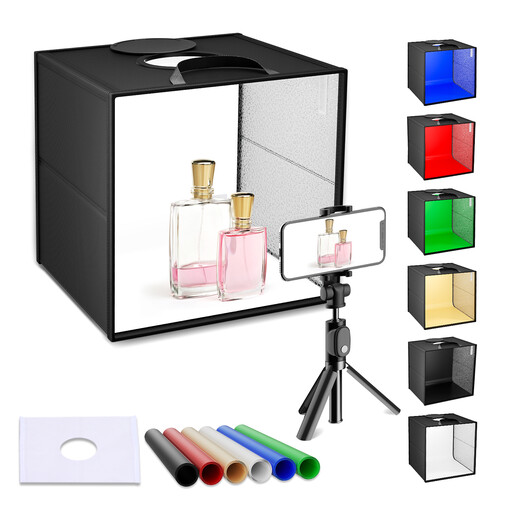
Foldable LED photo box with coloured backgrounds
The foldable photo box is designed for product photography; it isn’t a standalone LED panel.
According to the product description, it has dimmable lighting, adjustable colour temperature, a diffuser cloth and CRI 95+. Six background cards and openings for front and overhead shots are also specified.
Joybuy
 No image available
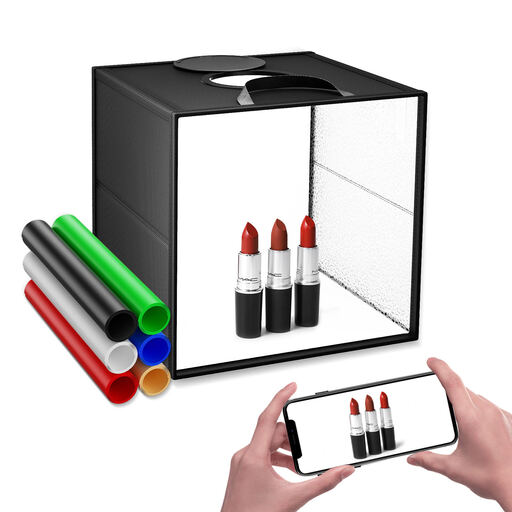
Foldable mini photo studio, 40 cm, 120 LEDs
The 40 cm mini photo studio is designed for product photography; it’s a light box rather than a standalone LED panel.
The product details list 5.600 K, adjustable colour temperature, dimmable lighting, diffusion fabric and CRI above 95. Six background cards, openings for front and overhead shots, and a storage bag are also specified.
Joybuy
 No image available
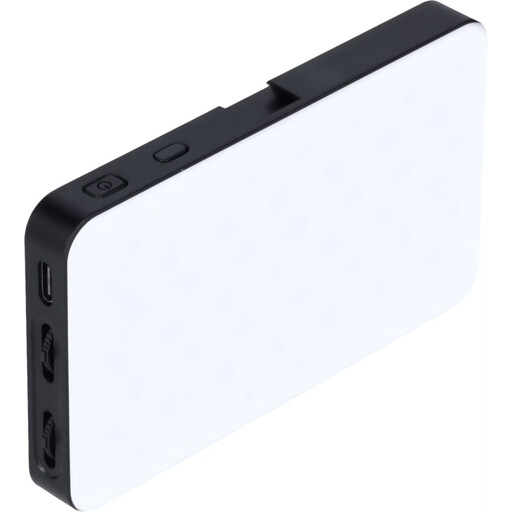
Rollei LUX Compact RGB LED Light 8W, 360 Colors, Bi-Color, App Control
This compact LED light is a space-saving option for small setups, but it isn’t marketed as an LED panel.
The product details list dimensions of 11,5 × 6,8 × 1,6 cm, bi-colour lighting, stepped brightness control and a range of 2.500 to 9.000 K. CRI and TLCI are listed as 98+; 1/4-inch and cold shoe connections are also specified.
Joybuy
Frequently asked questions
How should I start with a single glaze sample?
Start by taking a photo in as even a light as possible, keep the framing consistent and check a shot using a neutral white balance reference. Canon Europe recommends setting the right white balance and keeping product photos consistently composed. If unwanted glare appears, adjust the light, diffusion or reflector first, rather than simply turning up the power.
Can I set up a panel right next to a freshly worked sample?
Follow the instructions for the specific model. The Nanlite PavoSlim 60B manual requires a dry, well-ventilated location, unobstructed vents and protection from liquids. These manufacturer instructions apply to this model and don’t specify a general distance for all panels.
Are batteries and a stand usually included?
It depends on the model and package variant. For the NEEWER NL660, the EU product page lists a variant with a stand; the battery isn’t included. For the Rollei LUMIS Bi-Color, the manufacturer describes batteries as optional. So check what’s included with the specific variant.
What are my rights if a new product is faulty?
For consumer purchases in Germany, you can generally assert your statutory rights against the seller for faulty new goods within two years of delivery, as explained by Verbraucherzentrale. A voluntary guarantee is separate from these rights. Many online purchases are also generally covered by a 14-day right to cancel, starting from receipt of the goods; statutory exceptions may apply.
Does a CE mark mean the colour rendering has been independently tested?
No. The EU explains that the CE marking concerns the manufacturer’s declaration that the product complies with the relevant EU requirements, where applicable harmonised rules require it; it isn’t an independent test of colour accuracy. The Bundesnetzagentur lists labelling and product information, among other things, as areas covered by market surveillance.


