Drawing lessons filmed from above
If you’re filming your paper and hands from above, position the light so the drawing stays clearly visible and your hand or pen casts as little shadow as possible.


For a filmed drawing lesson, a dimmable panel is a good choice. Position it above and to one side of your drawing area, and use a diffuser to soften the light if needed. For coloured reference images, adjustable colour temperature and documented colour-rendering figures can help you choose. Power supply and mounting are important too, as is testing the light with your own camera: no single specification can guarantee flicker-free video.
If you’re filming your paper and hands from above, position the light so the drawing stays clearly visible and your hand or pen casts as little shadow as possible.
If you’re showing colour choices or mixing techniques, adjustable brightness and colour temperature are useful. However, a manufacturer’s colour-rendering figures don’t automatically tell you how the finished footage will look on your screen.
If you’re filming for longer stretches, check the power supply and mounting options. Test the light with your camera too, as LED lighting can cause banding in video footage.
| Priority | What to check before buying | Who it matters most to |
|---|---|---|
| Even light across the paper | Check whether the panel can be positioned as needed, and whether a diffuser or softbox is included with the version on offer. | If my hand or pen obscures details while I’m drawing, the position of the light matters most to me. Around 36% of consumers are likely to prioritise even lighting across their desk. |
| Showing colours and strokes clearly | Compare the colour temperature range and the CRI or TLCI figures listed for the exact model. Test your footage with the white balance set in advance. | When I explain shades and colour mixing, I want to get the lighting and camera settings working together. Around 29% of consumers are likely to prioritise accurate, consistent colour reproduction. |
| Long video recordings | Check the power supply, the USB-C power required and the mount. Film a test clip using your planned camera settings. | For longer lessons, I don’t want to stop because of a power issue, and I need footage without distracting bands. Around 21% of consumers are likely to prioritise reliable recording over longer sessions. |
| A space-saving setup | Measure the thickness of your desk and the space available; check whether a clamp or stand will fit where you plan to position the light. | If my home studio is short on space, I need to be able to attach the light to my desk without blocking my work area. Around 14% of consumers are likely to prioritise a space-saving setup. |
Lumens and lux measure different things. Without the same unit and comparable measuring conditions, figures for different panels won’t give you a reliable way to rank them for your drawing desk.
Only compare figures that use the same unit and measuring distance. Also check how evenly the light falls in a test recording.
The contents of the box can vary between versions. A stand is listed only for the version of the NEEWER NL660 labelled “with Stand”; with the Elgato Key Light Air MK.2, maximum brightness depends on the input power.
Before buying, check the exact version and what’s included.
Depending on the version, you may need extra accessories such as a stand, battery or sufficiently powerful USB-C adapter. Check what you need against the box contents.
CRI figures alone don’t prove how colours will look in your finished footage, or that the combination of LED light and camera won’t produce banding. Sony notes that flicker or banding can be a problem when filming under LED lighting.
Film a test of your paper and the colours you use with the planned brightness and camera settings.
The NL660 is a dimmable bi-colour panel that can be used with a compatible stand version for a flexible desk setup.
The slim P260C Pro is designed for setups where you may need to change the light’s position and power source.
The Key Light Air MK.2 is designed for a fixed desk setup and comes with a desk clamp.
The Pano 60c 2-Light Kit combines two compact panels with light modifiers and stands, giving you two lighting positions.
The video lights below are described as suitable for desk filming and tutorials. They aren’t all listed as LED panels, so check that their design and mounting options suit your drawing area.
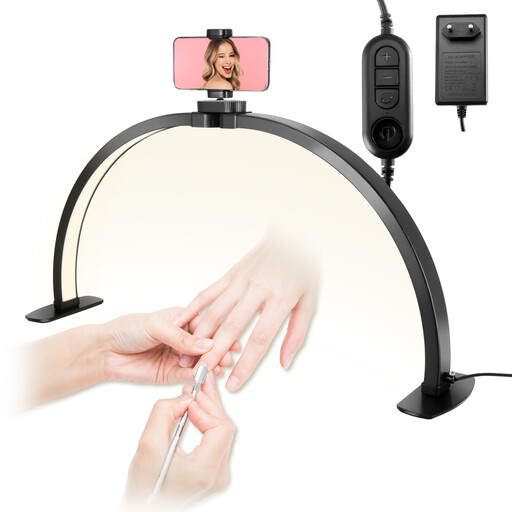 No image available
Described as a foldable ring light for desk filming and tutorial videos, rather than an LED panel.
The description lists three colour temperatures from 3000K–6000K and ten brightness levels.
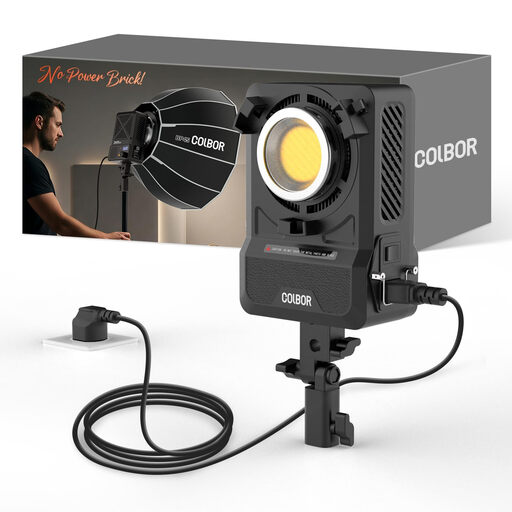 No image available
Described as a COB studio light for video production; it isn’t an LED panel.
The product name lists 200 W and bi-colour 2700K–7000K. The description mentions a Bowens mount.
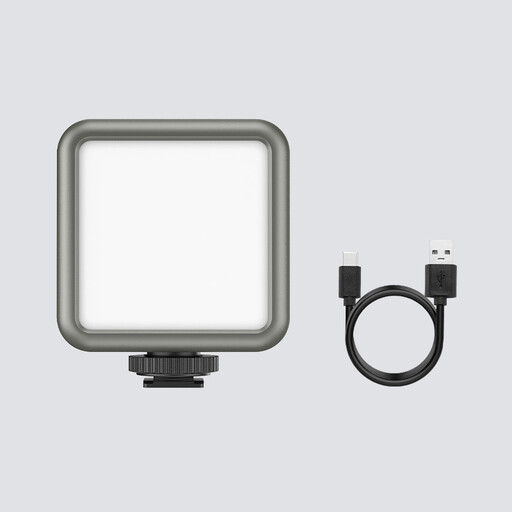 No image available
Described as a compact video light for video and close-up shots, rather than an LED panel.
The product name lists 2500–9500 K and a 2000-mAh battery. It also has magnets on the back.
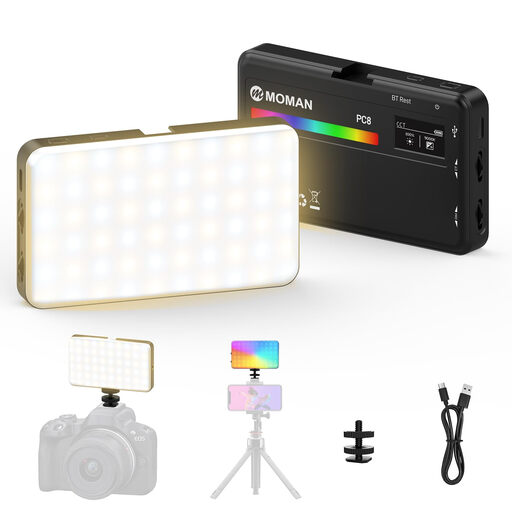 No image available
Described as a portable camera and video light for filming and product photography, rather than an LED panel.
The description lists 2500–9000 K, 0–100% brightness, a 1/4-inch screw thread and a cold shoe mount.
Start by positioning the panel above and to one side of your drawing area. Check the shadows in your camera view as you draw. According to the manufacturers, a suitable diffuser or softbox can soften the light; if one position isn’t enough, consider adding a second panel.
Sony notes that LED lighting can cause flicker or banding when filming. Test the specific combination of light and camera. Sony suggests adjusting the shutter speed as a possible troubleshooting step, although the settings available depend on your camera model.
Check the power supply, a suitable USB-C power source, the mount and any light modifiers included with the exact version. Batteries aren’t included with the NEEWER NL660; the Elgato Key Light Air MK.2’s maximum brightness depends on the input power, and Elgato says a compatible PD adapter isn’t included.
No. The Verbraucherzentrale distinguishes between statutory consumer rights and a voluntary guarantee, each of which has its own terms. A typical online order also usually comes with a 14-day cancellation period from delivery, although exceptions may apply.
According to Your Europe, CE marking is required only for products covered by harmonised EU rules that require it; it isn’t a general, independent quality mark. The German Environment Agency says that electrical and electronic waste covered by Germany’s ElektroG must not go in household rubbish. Take it to an appropriate collection or take-back point instead.