Filming from above
If you want to show the cutting line and hand movements from above, check whether you can position the light so your hand covers as little of the key area of the frame as possible.


Choose your lighting based on the size of your work surface, where you can mount it, and the space available for your camera and hands. An adjustable panel with a desk clamp may suit a small, permanent workspace; for larger areas or distracting hand shadows, consider a second light or a COB continuous light with a suitable modifier. Match the colour temperature to your existing artificial lighting and set your camera’s white balance accordingly. Then record a test clip using your actual settings to check for shadows, paper colours and possible banding.
If you want to show the cutting line and hand movements from above, check whether you can position the light so your hand covers as little of the key area of the frame as possible.
If you’re showing several paper colours under existing artificial lighting, match the light colour to your camera’s white balance and check the colours in the recorded footage.
When space is tight for your light, camera and cutting surface, the mounting method and cable routing matter just as much as choosing the right power supply for your setup.
Choose your lighting based on the main challenge you need to solve: seeing the cutting clearly, keeping paper colours true, avoiding interference in your video or making the most of limited space. The percentages show how these four priorities rank for the filming scenario described.
| Priority | What to check before buying | Who will find this particularly important |
|---|---|---|
| Visible cutting lines | Test the positioning and diffusion with your actual framing; allow space for a second light if needed. | When I film from above, I want the cutting line and hand movements to remain clear despite any shadows. Around 36% of consumers would put visibility of the cutting line first. |
| Paper colours under artificial lighting | Check the adjustable colour temperature range and model-specific colour-rendering figures; test the white balance with the paper in shot. | When I show coloured paper under existing artificial lighting, I want to match the light colour to the white balance. Around 29% of consumers would prioritise how paper colours look. |
| Banding in video | Record a test clip using your planned frame rate, shutter speed, room lighting and dimmer setting. | If visible banding could disrupt the tutorial, I want to test my usual camera and lighting settings. Around 21% of consumers would prioritise interference-free video recording. |
| Space and power | Check the table edge, mounting height, required input power and what’s included; allow for tripod and cable space. | When my table is small, I need a mounting method and power supply that fit the available space. Around 14% of consumers would put a space-saving, complete setup first. |
Whether flicker or banding appears in your video also depends on your camera settings and lighting. A manufacturer’s claim doesn’t show how a particular combination will look at your cutting table.
Test your room lighting and video light together using the camera and dimmer settings you plan to use. Visible banding could mean you have to film the tutorial again.
For the amaran 100x S, the published lux figures differ depending on whether they were measured without an accessory or with a Hyper Reflector. They don’t directly tell you how brightly a particular softbox will light the paper.
Only compare figures measured at the same distance and with the same named accessories, and check brightness in your actual frame.
What’s included varies by model and version. According to the manufacturer, the Elgato Key Light Air MK.2 doesn’t include a suitable PD adapter; the documented NEEWER two-light kit doesn’t include NP-F batteries.
Before buying, check the contents list, connections and requirements for your planned mounting setup and light modifier.
The Key Light Air MK.2 is a panel with a desk clamp, suited to a permanent workspace where a floor stand could get in the way.
The P260C Pro is a single bi-colour panel with a diffuser. Check the full model name, as the LEDP260C has different specifications.
The RGB 660 PRO II two-light kit includes two panels that can be positioned separately for key and fill lighting.
The amaran 100x S is a COB continuous light for a setup where you plan the light and modifier separately.
The RC 60B Lite Edition is a compact battery-powered light for changing filming locations and occasional wireless use.
This Joybuy selection includes portable video lights and COB lights for adjustable colour or a carefully planned lighting setup.
 No image available
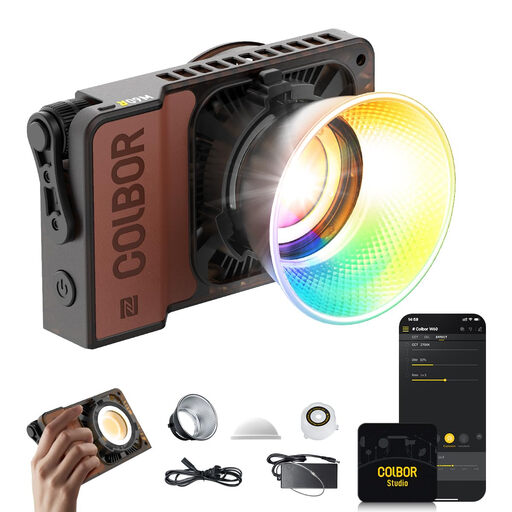
This portable light may suit you if you’re looking for a flexible setup for video recording.
As stated in the product name: 60 W, RGB, 345 g and continuous lighting.
 No image available
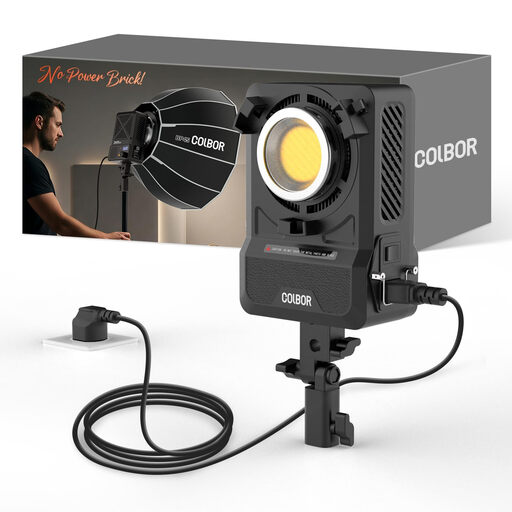
If you want to add a light modifier to your setup, check that the specified mount and accessories suit your plans.
As stated in the product name: 200 W, COB, bi-colour from 2700–7000 K, Bowens mount and built-in power supply.
 No image available
This video light, described as portable in the product name, may suit you if you film in different locations. Before buying, check the operating modes and settings offered by the specific version.
 No image available
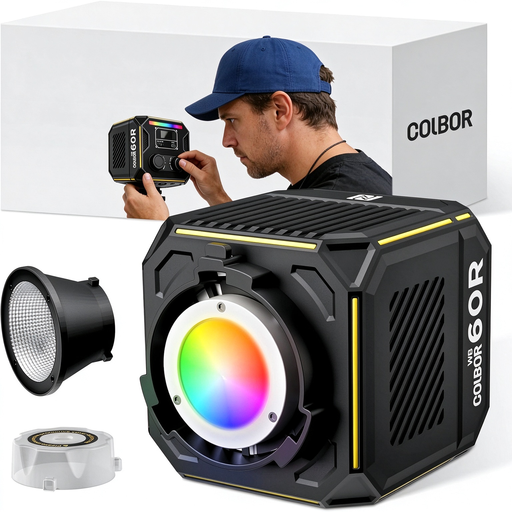
The battery listed in the product name may be useful if you’re filming somewhere without a permanent mains connection. Plan the power supply around how you intend to use it.
As stated in the product name: 60 W, 59 Wh battery, 2700–6500 K, bi-colour and full colour.
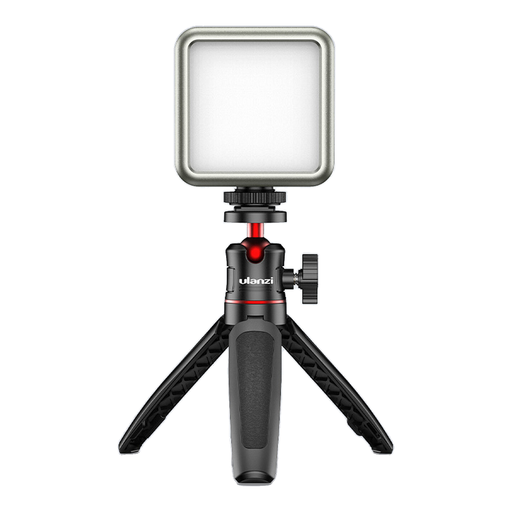 No image available
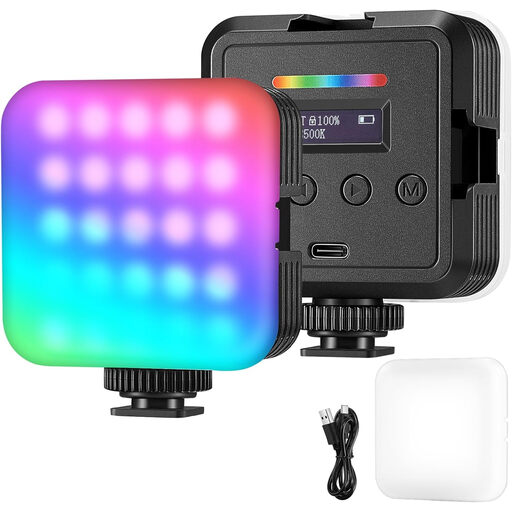
This compact light may suit a small or mobile filming setup. Check whether you can use the specified mounting method at your filming location.
As stated in the product name: 2000 mAh battery, RGB, adjustable 2500–9500 K and magnets on the back.
Aim the key light at the cutting area and check in the camera view where shadows fall when you hold your hands as you normally would. If one side of the sheet is too dark, a weaker fill light from the opposite side may help; make sure its position works with your table and framing.
Adjust the light colour to suit your setup and check the camera’s white balance with the paper in shot. If you’re mixing light sources, a test clip will tell you more about your footage than a single Kelvin or CRI figure.
Start by testing the dimmer level and camera settings you’re using. If your camera has an adjustable shutter speed or a suitable anti-flicker function, changing the settings may help. The most effective option depends on the combination of light source and camera.
It depends on the exact version. Elgato lists a clamp and USB-C cable for the Key Light Air MK.2, but no PD adapter suitable for full brightness; the documented NEEWER two-light kit includes power adapters and stands, but not NP-F batteries. Check the contents list for the specific listing against your setup.
A CE marking is required when the harmonised EU rules that apply to the specific product call for it. The German Federal Network Agency also lists identifiable product and manufacturer details, required warnings and the declaration of conformity as checks for its market surveillance. These general checks don’t confirm that a particular listing complies.