
Lieferung heute & morgen

Qualitätsgarantie

Willkommens-Angebote freischalten: KOSTENLOSE Lieferung | Bis zu 80 % RABATT | Kostenlose 30-Tage-JoyPlus-Testphase
App herunterladen
As a Joybuy Product Recommendation Officer, I see people every day looking for simple and effective ways to beautify their homes. A common challenge is the desire for change without the hassle of drilling and complex installation, especially in rental apartments. Peel-and-stick mirror tiles are a practical solution for this. They can make rooms appear brighter and visually larger, while also offering creative freedom for wall design.
This article is intended to serve as your guide. We will introduce various options and provide you with objective information to help you make an informed decision for your project.
Before you decide on a product, there are a few technical aspects to consider. These will help you find the right product for your specific application.
Most mirror tiles are made of either real glass or acrylic glass.
The success of a drill-free wall mirror depends entirely on the quality of the adhesive and the condition of the mounting surface. The wall should be dry, dust-free, and grease-free. Smooth surfaces like tiles, lacquered wood, or smooth plastered walls are ideal. On rough or porous surfaces like wood-chip wallpaper or textured concrete, adhesion may be compromised. Check the manufacturer's product description for information on suitability for different surfaces.
Consider what your goal is. Do you want to create a larger, functional mirror surface, for example, in the hallway or on a wardrobe door? In that case, a set of larger mirror tiles is a good choice. Or are you looking for a decorative mirror to add creative accents or upgrade furniture? If so, a self-adhesive mirror mosaic is ideal. It consists of many small individual pieces and allows for maximum design freedom for a DIY mirror wall.
Here you will find a selection of products that cover different needs—from a functional mirror surface to a creative craft project.
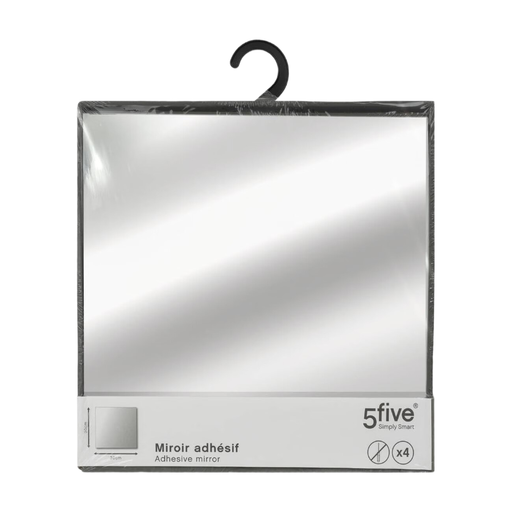
Why it stands out: This set provides a straightforward foundation for a clear, functional mirror surface. The 30 x 30 cm square tiles can be arranged flexibly—as a classic square, in a row, or staggered.
Advantages:
Who it's for: Users looking for a practical and expandable mirror solution for hallways, bedrooms, or dressing areas who want to avoid drilling.
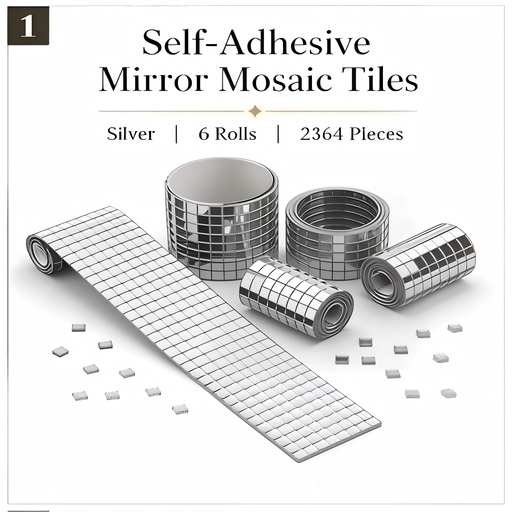
Why it stands out: With 6 rolls and a total of 2,364 small mirror pieces, this set offers a huge amount of material for creative design ideas. The mosaic tiles are already attached to a self-adhesive backing, which makes them easy to work with.
Advantages:
Who it's for: DIY enthusiasts and crafters looking for a versatile self-adhesive mirror mosaic to give everyday objects or walls a unique and shiny accent.
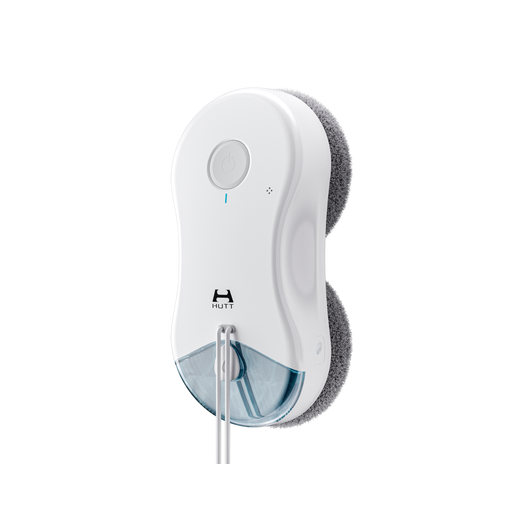
Why it stands out: A large mirror surface is beautiful, but cleaning it streak-free can be tedious. This device offers an automated solution to keep mirrors, glass surfaces, and tiles clean.
Advantages:
Who it's for: Individuals who are planning a large mirror surface and want to minimise the cleaning effort. Also practical for households with many hard-to-reach glass surfaces.
The products presented here cover common use cases. However, if you are looking for other formats, styles, or specific designs, you can find more alternatives in our main category.
? Discover more products in the Mirror Tiles category here
1. Do self-adhesive mirror tiles hold up in the bathroom? Suitability for humid environments like the bathroom depends heavily on the product. Pay close attention to the manufacturer's specifications regarding the adhesive's moisture resistance. Direct and prolonged exposure to water (e.g., in the shower area) should be avoided. Good room ventilation is also important to ensure the longevity of the bond.
2. How can you remove mirror tiles without damaging the wall? For the gentlest possible removal, the adhesive can be carefully heated with a hairdryer. This will soften it. Then, you can try to slowly and carefully pry the tile off the wall with a flat tool (e.g., a putty knife or a nylon cord). Depending on the surface and the adhesive, residue or damage to the wallpaper or paint may still occur.
3. Can you stick mirror tiles onto wood-chip wallpaper? Applying them to wood-chip wallpaper is a challenge. The uneven texture of the wallpaper reduces the contact area for the adhesive, which can severely compromise adhesion. A smooth, solid surface is recommended for a secure hold. Some users report success by using additional mounting adhesive, but this is done at your own risk and can damage the wallpaper upon removal.