Voiceover artists who can hear the booth
You record on your own and want to check whether the ventilation or room sound can still be heard alongside your voice. Microphone position and a test recording are important.


If you can hear the ventilation or room sound in the booth, start with a directional USB microphone that you can position close to where you speak. Then check the sound with a test recording from your actual recording position. A directional USB condenser microphone may also work well in a quiet booth. Headphone monitoring, the right connection and enough space for a desk stand or boom arm are also important.
You record on your own and want to check whether the ventilation or room sound can still be heard alongside your voice. Microphone position and a test recording are important.
You want to monitor longer commentaries through headphones as you record and keep an eye on the levels.
You need room for your script, microphone and computer in a small booth, and want to choose between a desk stand and a boom arm.
When COMPUTER BILD tested the Shure MV6, it could still hear background noise. So check the microphone in your intended position with a test recording rather than relying on its polar pattern or digital processing alone.
| What matters | What to check before buying | Who is this important to? |
|---|---|---|
| Clear speech | Check the polar pattern and whether you can position the microphone close enough to speak; listen to a test recording with the ventilation running. | If I can hear the ventilation in my booth, I want to record a single voice clearly and up close; around 36% of consumers put booth noise first. |
| Monitoring | Check the headphone socket, monitoring features and accessible level controls on the specific model. | When recording for longer, I want to monitor my voice and levels directly through headphones; around 29% of consumers prioritise this. |
| Positioning | Compare the desk stand, boom arm or swivel function, and check exactly what’s included. | If there’s little room for my script and computer, the microphone needs to fit on the desk or an arm; around 21% of consumers focus mainly on the space it takes up. |
| Connection and set-up | Check that the USB connection and cable work with your recording device; only plan for XLR if you have a suitable interface or mixer. | For an easy set-up, I want to connect the microphone directly to my recording device; around 14% of consumers prioritise connections and ease of set-up. |
A directional recording pattern or noise processing won’t guarantee that the ventilation and room sound disappear from your recording. COMPUTER BILD could still hear background noise when it tested the Shure MV6.
Test the microphone with your usual ventilation and speaking position, then listen to the recording through headphones before recording a longer passage.
If the test recording doesn’t sound right, you may have to record it again, creating extra work.
RØDE lists a pop shield for the NT-USB Mini, but COMPUTER BILD still heard noticeable plosive sounds when testing this model.
Record a test using words with typical plosive sounds and check whether the position and any accessories you need are right for your recording.
The boom arm is included with the separate Streaming Set option for the Sennheiser Profile. Shure lists the MV6 and MV6 Gen 2 as different models.
Check the full model name, connections and what’s included with the version on offer.
You may need to plan for an extra boom arm; it’s included with the Sennheiser Profile Streaming Set option.
The dynamic MV6 USB microphone is designed for one voice at close range, with headphone monitoring. The MV7+ also has an XLR output.
The NT-USB Mini is a compact USB condenser microphone; the PodMic USB is a dynamic microphone with USB and XLR outputs.
The Profile USB is a cardioid condenser microphone with gain, mix and headphone controls for a desk set-up that’s easy to operate.
The UM 6.0 ADVANCED is worth considering if you sometimes have several people speaking into the same microphone, as well as recording solo commentaries.
The AT2040USB is a dynamic USB option with a hypercardioid polar pattern, designed for a single speaking voice.
The following Joybuy products include directional USB microphones for recording a single voice, including dynamic USB/XLR models and USB condenser microphones. Choose the type that suits you based on a test recording, monitoring and the space you have available.
 No image available
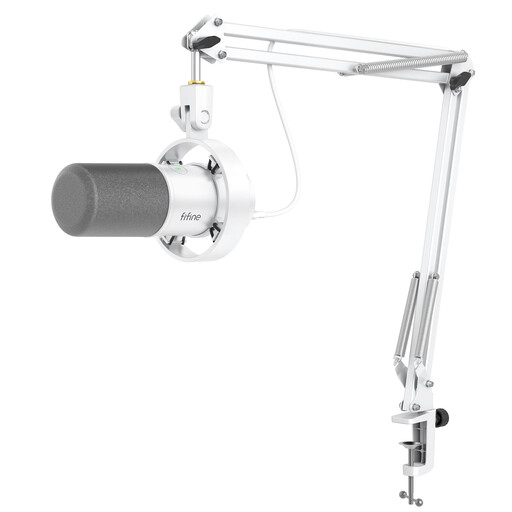
For recording a single voice, when you want to position the microphone and boom arm flexibly and monitor directly through headphones over USB.
Unidirectional recording; the USB-C cable, boom arm, shock mount and windscreen are listed as included. According to the description, the gain control, mute function and headphone monitoring are available over USB. An XLR cable isn’t included.
 No image available
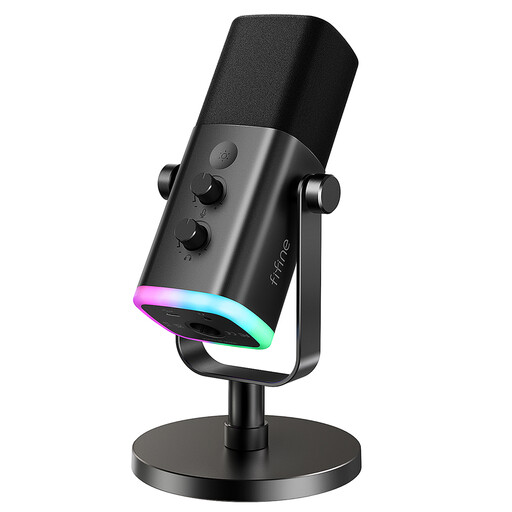
If a desk stand suits your limited workspace and you want to monitor your recording through headphones.
The description lists a unidirectional polar pattern, USB-C, XLR, a headphone socket and a monitoring control. A desk stand is included; a boom arm and XLR cable aren’t.
 No image available
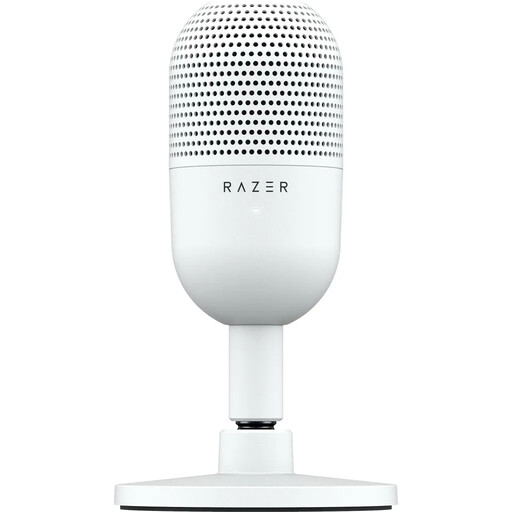
For a small workspace, if a compact USB condenser microphone with an adjustable stand suits your speaking position.
The description lists a supercardioid polar pattern, USB-C, tap-to-mute, built-in shock absorption and an adjustable tilt stand. The polar pattern doesn’t guarantee a particular result in your booth.
 No image available
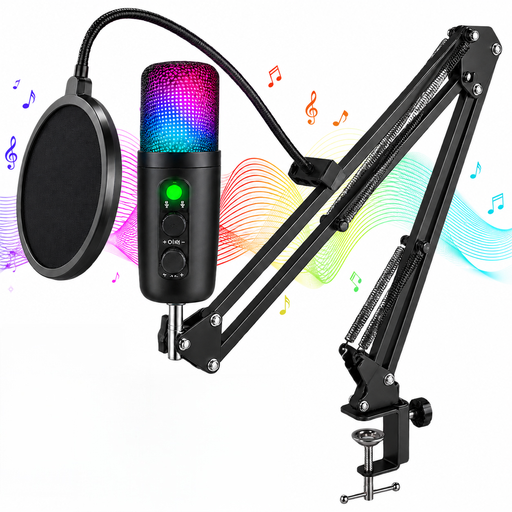
If you want to record a single voice and position the microphone on a scissor arm.
The product description lists a cardioid polar pattern, gain control, mute button and headphone monitoring. The title lists a Type-C adapter and a 7-piece set.
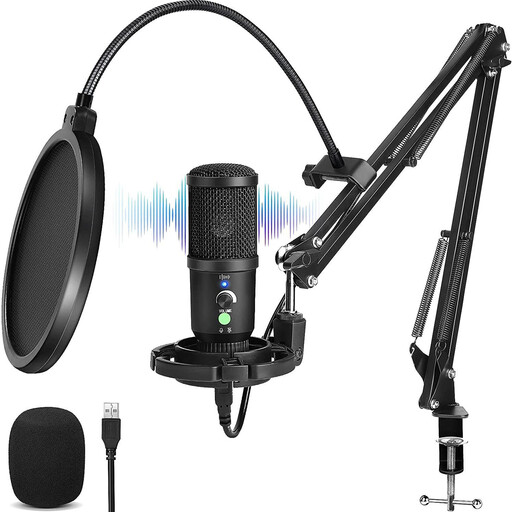 No image available
If you want to record a single voice, monitor directly through headphones and position the microphone on an arm.
The description lists a cardioid polar pattern, gain control, mute button and latency-free monitoring through the headphone socket. A scissor arm and desk stand are listed.
No, it can’t guarantee a clear recording. Position the microphone to match where you normally speak, then listen to a short test recording in the actual booth. For voiceover with the NT-USB Mini, RØDE recommends a distance of around 10–15 cm from your mouth; this advice applies to this model.
Use the microphone’s headphone socket, if your chosen model has one, and check a test recording. According to their manufacturers, the Sennheiser Profile USB, RØDE NT-USB Mini and RØDE PodMic USB offer headphone monitoring; check how it works on the specific model.
You don’t need an additional interface to use the models described here directly over USB. If you use the XLR output on the RØDE PodMic USB instead, you’ll need a suitable audio interface or mixer.
Position the microphone to match where you normally speak, then check the sound with a test recording. For voiceover with the NT-USB Mini, RØDE recommends placing it around 10–15 cm from your mouth; you can’t automatically apply this distance to other models.
Not necessarily. The German Patent and Trade Mark Office points out that original texts may be protected by copyright, with usage rights granted through a licence. If you’re using someone else’s script, check with the rights holders before recording and publishing to find out what use is permitted. Whether a particular text is protected depends on the individual case.