Tutorials with audible controller sounds
If you’re explaining things while using the controller, position your voice carefully and check that the microphone works with your camera framing.


For a controller tutorial, a directional microphone is an obvious choice if you can position it close to your mouth and frame it appropriately in the shot. In a quieter room, a USB condenser microphone may also work well. What matters is which side you speak into, whether there’s enough room for the camera and your hands, and how a test recording sounds with both your voice and the controller. A particular pickup pattern alone cannot guarantee a recording free from unwanted noise.
If you’re explaining things while using the controller, position your voice carefully and check that the microphone works with your camera framing.
If you want to record without a separate audio interface, test beforehand whether your voice and controller sound balanced in your setup. A headphone socket can be useful for monitoring as you record.
If you’re starting with USB and may switch to XLR later, check the connections and make sure you have a suitable mount for the specific microphone.
Plan your speaking position and camera framing first, before comparing individual microphone features. Then test the connections and monitoring with the software and recording device you actually use.
| Consideration | What to check before buying | Who is it important to? |
|---|---|---|
| Voice and controller sounds | Check the pickup pattern and the intended speaking side; record your voice and typical controller actions together. | If I’m pressing buttons while speaking, I want to hear how clearly my voice comes through over the clicks. Around 33% of consumers prioritise controlling unwanted noise. |
| Speaking position and framing | Check there’s room for the microphone and its mount in the shot; for side-address models, point the front towards your voice. | If I need both hands on the controller, the microphone must be positioned so it doesn’t get in the way and works with the shot. Around 27% of consumers pay particular attention to positioning and framing. |
| Monitoring and editing | Check whether the specific model has a headphone socket; check the audio source in your recording software and listen back to the exported file. | If I want to check that my speech and other sounds are right while recording and editing, I need a clear way to monitor the audio. Around 20% of consumers prioritise monitoring and checking the recording afterwards. |
| USB connection and future upgrades | Check USB compatibility with your recording device; only treat XLR as a priority if you’re planning to use an XLR recording setup later. | If I want to get started easily with USB or may use an audio interface or mixer later, the connection type needs to suit my plans. Around 20% of consumers prioritise a straightforward USB setup or the option to add XLR later. |
For the RØDE PodMic USB, the manufacturer’s guide recommends a mouth-to-microphone distance of around 5–10 cm. Elgato recommends around 10–20 cm for the Wave:3 MK.2 and notes that the front of this model is the side you speak into. Check that these positions work with your camera framing and give you enough room to move.
According to OBS Project, using the same audio source in both the global audio settings and as a scene source can cause an echo in OBS. Check your setup and listen back to a finished test recording.
The pickup pattern describes the microphone, not how it will sound at your speaking distance or while you use the controller.
Test your voice and typical controller actions together from the position you plan to use. If needed, adjust the setup first rather than assuming a feature name guarantees a particular recording result.
A close speaking position can get in the way of the camera, your face or a clear view of the controller.
Check the framing, speaking distance, orientation and what’s included in the box together. You may need an additional compatible microphone mount.
A microphone arm or other suitable mount may take up extra space where you’re filming.
Information about the Wave:3 MK.2 and older MK.1 documentation refers to different model generations.
Check the full model name against the relevant feature description before relying on a particular feature.
The PodMic USB combines USB-C and XLR and is designed for voice recording at close range.
According to Shure, the MV7+ has USB-C and XLR connections, so you can start with USB and potentially expand your setup later.
The ATR2500x-USB is a USB condenser microphone with a cardioid pickup pattern.
The SoloCast 2 offers a compact USB setup, while the QuadCast 2 adds more pickup patterns and controls.
The Wave:3 MK.2 combines a USB condenser microphone with built-in controls and Wave Link software.
The Yeti GX is a dynamic USB microphone with a supercardioid pickup pattern and G HUB features.
The products below include USB and USB/XLR microphones for voice recording. Check each model’s pickup pattern, connections and setup to make sure they suit your tutorial.
 No image available
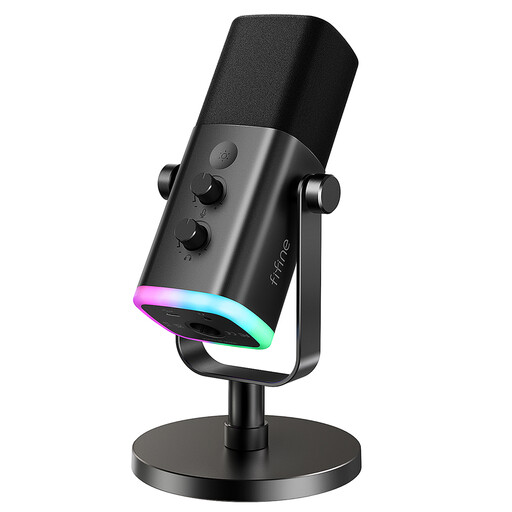
Could be a good fit if you want to start recording via USB while keeping the XLR option open for a possible upgrade later.
The product name lists a headphone socket, mute button and desk stand. According to the product details, an XLR cable and microphone arm are not included.
 No image available
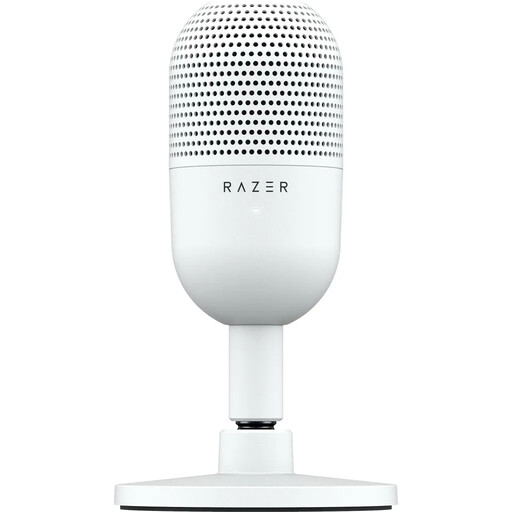
Worth considering for a compact USB setup if you can position the microphone to work with your camera framing.
The product name lists USB and tap-to-mute. Before recording, check that the speaking position works with your camera and the way you use the controller.
 No image available
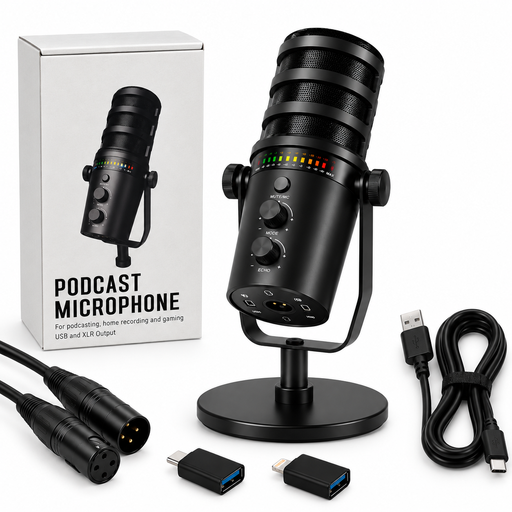
Could suit a setup that uses USB recording but also needs the option of an XLR connection.
The product name lists gain control, echo, mute and a desk stand. Check that the stated features and included stand meet your filming needs.
 No image available
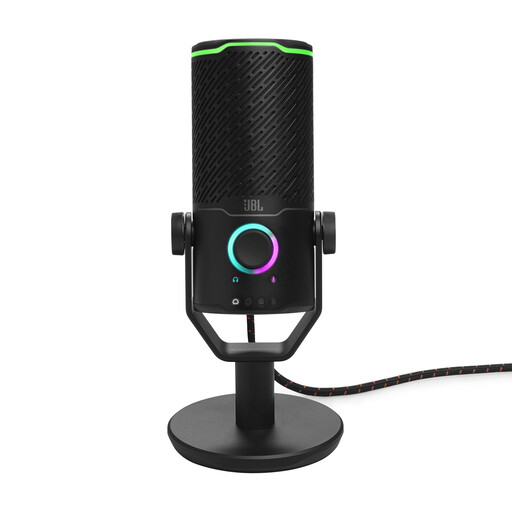
Could be an option if you’re considering a USB condenser microphone for voice recording and want to test how it fits into your setup beforehand.
The product name lists a flexible design, mute and monitoring. Check that the intended position works with your camera framing and controller use.
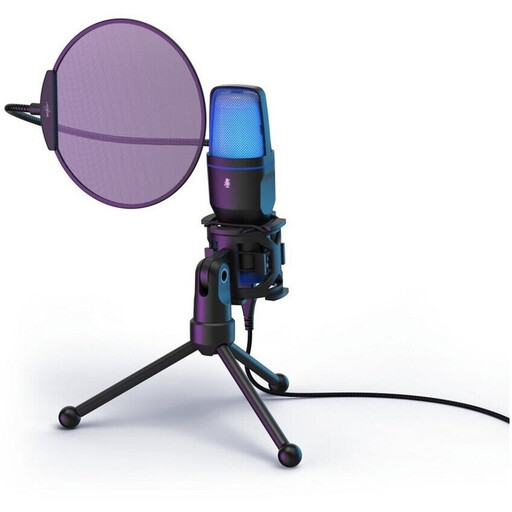 No image available
Only consider this if the stated pickup pattern suits recording your voice while using the controller.
The product details specify an omnidirectional pickup pattern. Don’t assume it will focus on your voice; test your voice and controller together in a recording.
From the camera position you plan to use, record a short sentence while carrying out some typical controller actions, then listen back. According to Elgato, you speak into the front of the Wave:3 MK.2; RØDE recommends speaking towards the end of the PodMic USB’s microphone grille.
According to OBS Project, an echo can occur if the same audio device is selected both in the global audio settings and as a scene source. Check whether the source has been added twice.
OBS Project notes that standard video players usually play only one audio track. So check the exported file and make sure the audio sources you need are on the track that will be played.
Check that the box includes a mount and a suitable USB cable for your setup. To use an XLR output, you’ll need a compatible recording setup, such as an audio interface or mixer.