Tutorial creators with limited desk space
You need room for your controller and camera shot, and want to keep the microphone and mount out of the way while you demonstrate.


First, choose a microphone position that picks up your voice without getting in the way of the controller or camera shot. A compact desktop microphone could work well in a quiet room. If button presses are distracting in your test recording, a dynamic microphone used at close range may be an alternative – as long as you can speak into it consistently from nearby while demonstrating. Also check the connections and mounting options, and make a test recording with the controller sounds you’ll hear in practice.
You need room for your controller and camera shot, and want to keep the microphone and mount out of the way while you demonstrate.
You want your voice to stand out above desk noise, and can check whether speaking consistently from close range is practical.
You want to monitor your speech while recording or editing, so you’ll need suitable monitoring or mixing features.
First decide where the microphone will sit on your desk and in the shot. Then make a test recording to check your speech and controller noise, before comparing connections and the audio controls you need.
The percentages refer to consumers choosing a USB microphone for a controller tutorial at a small desk.
| Consideration | What to check before buying | Who is this especially important for? |
|---|---|---|
| Space and camera shot | Check the stand or arm, mounting surface, cable routing and camera shot at your own desk. | If the controller and camera have to fit into a small space, keeping the shot clear is my main priority. Around 31% of consumers prioritise space and the camera shot. |
| Clear speech | Make and listen to a test recording from your intended speaking position, with actual button presses. | I want to be clearly understood while demonstrating, without clicks drowning out my voice. Around 31% of consumers prioritise clear speech despite operating noise. |
| Connection to the recording device | Check the USB port, cable included and documented support for your exact model. | If I want to record without an extra audio interface, the connection needs to work with my device. Around 19% of consumers prioritise a straightforward connection. |
| Audio monitoring | Check the headphone socket, monitoring and mixing features you need on the exact model. | I want to monitor my voice and other audio sources while recording. Around 19% of consumers prioritise monitoring and audio mixing. |
A desktop stand is quick to set up, but takes up space. An arm can move the microphone out of your working area, but you’ll need a suitable place to attach it. Audio-Technica says the ATR2100x-USB picks up less sound from the sides and rear. However, you’ll need to keep the microphone pointed towards your voice.
Even a small microphone needs a suitable surface or mount, and could block part of your demonstration in the shot.
Before buying, check where it will sit in the camera shot and whether there’s room for the mount. Check what’s included with the exact variant; you may need a different mount or a microphone arm.
Position and speaking distance still affect the recording. Both can change when you look down at the controller.
Record yourself with the actual clicks and the movements you usually make while demonstrating, rather than choosing based on microphone type alone.
Elgato specifically lists Clipguard 2.0 and the Wave FX Processor for the Wave:3 MK.2.
Check the full model name and the features you want against the specific product variant.
The NT-USB Mini is a compact desktop or boom-arm option for recording a single speaker at a small desk.
The ATR2100x-USB is a dynamic USB/XLR alternative if you can speak from nearby and might want to use an XLR connection later.
The Profile USB is a USB-C condenser option with on-device controls, designed for stationary voice recording.
The Wave:3 MK.2 is designed for creators who want to manage levels and multiple audio sources as well as record their voice.
The MV7+ is a USB-C/XLR option for a more advanced voice-recording setup.
This selection includes USB microphones for recording your voice at close range, saving space with a practical microphone position and monitoring audio during a controller tutorial.
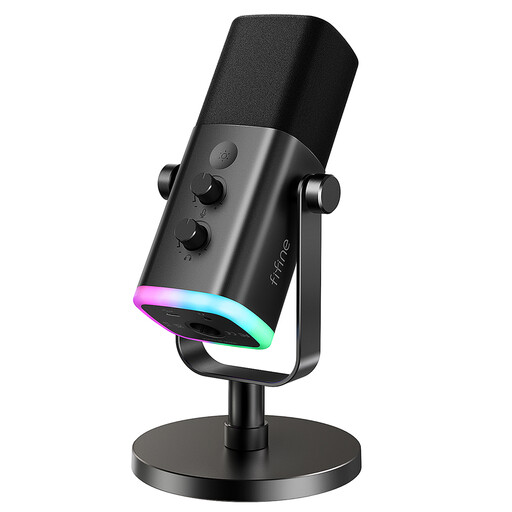 No image available
This dynamic USB/XLR microphone is worth considering if you can speak from nearby while demonstrating.
The product name lists RGB lighting, a mute button, a headphone socket and a desktop stand. The product description recommends a distance of 2 to 6 inches; check whether this position is practical while demonstrating with your controller.
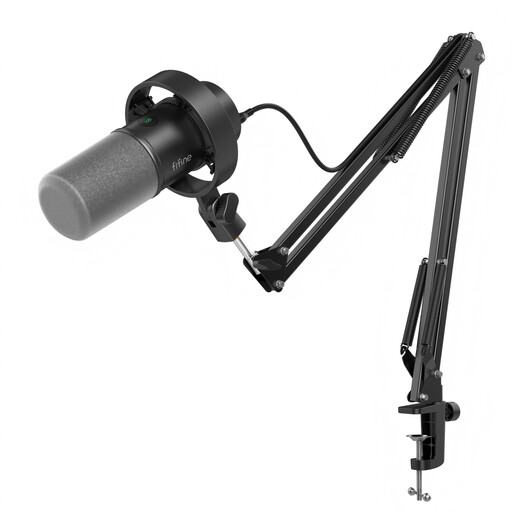 No image available
This dynamic USB/XLR kit with a microphone arm could suit you if you want to move the microphone out of your working area.
The product name lists a microphone arm. According to the product details, the desk clamp is designed for desks less than 2 inches thick. Check your desk thickness and whether you can speak from close range while demonstrating.
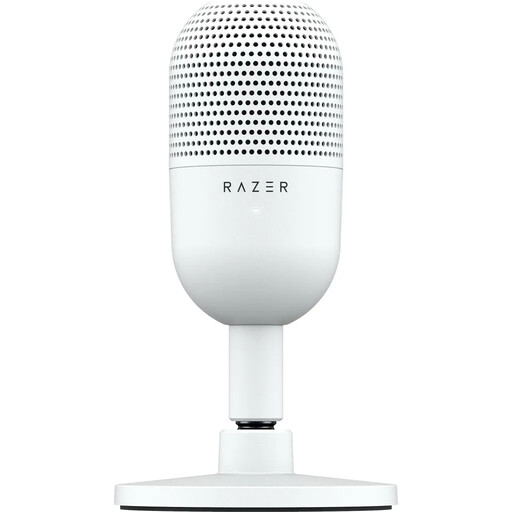 No image available
This USB microphone, described as ultra-compact, could be an option if desk space is limited.
The product name lists tap-to-mute. Check where it sits in the camera shot and listen to a test recording with the controller sounds you’ll hear in practice.
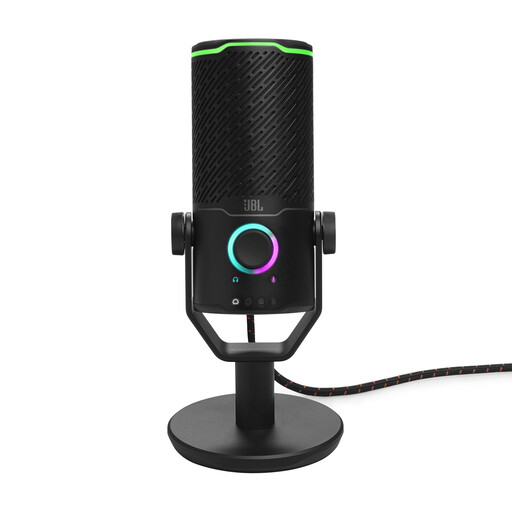 No image available
This USB-C condenser microphone could appeal to creators who want to monitor their recording as they go.
The product name lists monitoring, mute, an LED indicator and a flexible tube design. Check that the microphone position leaves your controller and camera shot clear.
 No image available
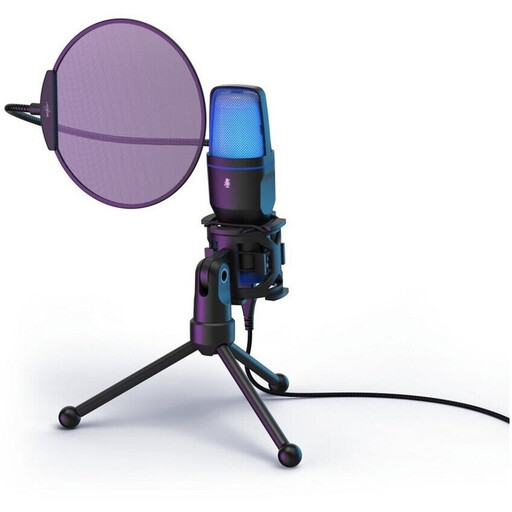
The product name describes it as a gaming microphone. For a tutorial, check that you can position it without spoiling the camera shot.
Test how clearly your voice comes through alongside the controller sounds you’ll hear in practice. Also check the connection and mounting requirements against your recording device and desk.
Select the microphone as the audio input on your recording device, point the front towards your usual speaking position and make a short test recording using the controller as you normally would. RØDE explains how to select the NT-USB Mini as an input and output device in your system settings; check the setup instructions for other models separately.
Not necessarily: RØDE says the NT-USB Mini comes with a USB-C to USB-A cable, and that a different cable is needed for devices with a USB-C input. What matters is the connections and included accessories for your particular microphone and recording device.
When you buy as a consumer, you have a statutory right to claim against the seller under the legal guarantee. EU consumer information generally sets this at a minimum of two years from the date you receive the goods. According to Germany’s Federal Environment Agency, old electrical equipment should not go in household waste; take it to a suitable collection point instead.