Solo commentators recording at a noisy desk
If you speak close to your computer, microphone position and polar pattern are important factors to consider. Audio-Technica recommends speaking close to and directly into dynamic microphones.


For a strategy guide recorded at a desk where background noise is audible, a dynamic cardioid microphone can be a good choice if you can speak close to it. In a quieter room, a condenser microphone gives you more freedom over positioning. No polar pattern automatically eliminates room or keyboard noise. Also check monitoring, gain, connections and the stand. You can set up separate voice and game audio tracks in your recording software.
If you speak close to your computer, microphone position and polar pattern are important factors to consider. Audio-Technica recommends speaking close to and directly into dynamic microphones.
If you want to edit your commentary and game audio separately later, check whether your recording software supports separate tracks and how to set them up. The OBS Project guide explains how to assign audio sources to individual tracks.
If you want to get started without a separate audio interface, make sure the cable, computer connection and stand suit your workspace. Audacity Support recommends selecting the microphone as the input device and listening back to a test recording.
First, consider how quiet your room is and how close you can speak to the microphone. Then plan how to record separate tracks in your software, and check the connections, monitoring and practical setup.
| Buying priority | What to look for | Who it matters most to |
|---|---|---|
| Clear solo voice | The microphone type and polar pattern of the specific model; a suitable speaking distance and enough room for a stand or boom arm. | If I speak close to my computer, I want to capture my voice clearly while taking room and keyboard noise into account. Around 36% of consumers prioritise a clear solo voice. |
| Separate audio tracks for editing | Check whether the recording software can put commentary and game audio on separate tracks; listen to a test recording in the editing software you plan to use. | If I want to adjust commentary and game audio independently later, I need separate tracks rather than a combined mix. Around 29% of consumers prioritise separate audio tracks for editing. |
| Easy recording setup | Check for a headphone connection and monitoring, suitable cables, a mute function and a short test recording. | If I want to get started without a separate interface, I need to be able to check the gain and my voice before making a longer recording. Around 21% of consumers prioritise an easy recording setup. |
| Options for connecting later | Check whether the model offers USB and XLR, which cables are included and whether you have a suitable audio interface for XLR. | If I record over USB to begin with but might add an interface later, I want to take a change of connection into account. Around 14% of consumers prioritise the flexibility to change connections later. |
Speaking distance, the room and a suitable recording level also affect how clear your commentary sounds. A bit or kHz specification won’t solve these issues by itself.
Consider how easy the microphone is to use in your recording space, and listen to a test recording before focusing on individual figures.
Separate tracks are created by configuring your recording software, not simply by using a USB connection. The OBS Project guide explains how to assign audio sources to individual recording tracks.
Before recording, make a short multi-track test and check playback in the editing software you plan to use.
Incorrect track assignments can mean extra setup and editing time.
Cables and stands vary by model and version. Audio-Technica lists two USB cables, an XLR cable and a desktop tripod stand for the ATR2100x-USB; RØDE lists a USB-C-to-USB-A cable for the NT-USB Mini.
Before buying, check your computer’s connections, the space available and what’s included with the specific version.
The dynamic ATR2100x-USB is designed for solo voices and offers both USB and XLR connections.
The NT-USB Mini is a compact USB condenser microphone for a single commentary position.
The MV7+ combines USB-C and XLR for setups that may need an additional connection option.
The QuadCast 2 has controls on the microphone and several selectable polar patterns.
The UM 6.0 ADVANCED combines a cardioid pattern for solo voices with an omnidirectional pattern for other recording situations.
This selection includes USB microphones for voice recording on a PC, as well as a USB-C wireless lavalier microphone. Consider whether you need to record one voice at your desk or want more freedom to move around.
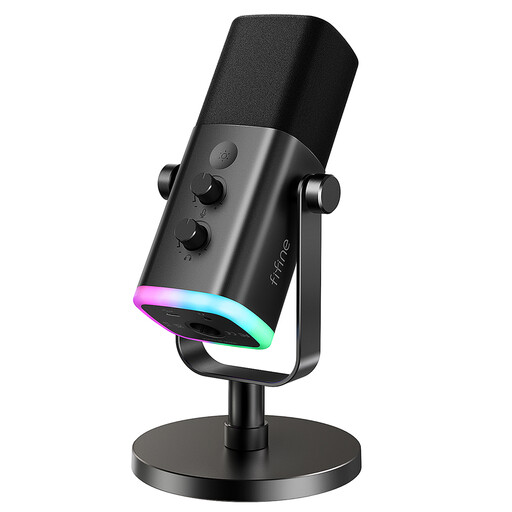 No image available
For recording one voice at your desk, if you want to use USB and have the option of an XLR connection.
Dynamic cardioid microphone with USB and XLR outputs, gain control, headphone connection, mute function and desktop stand. The product information states that an XLR cable is not included.
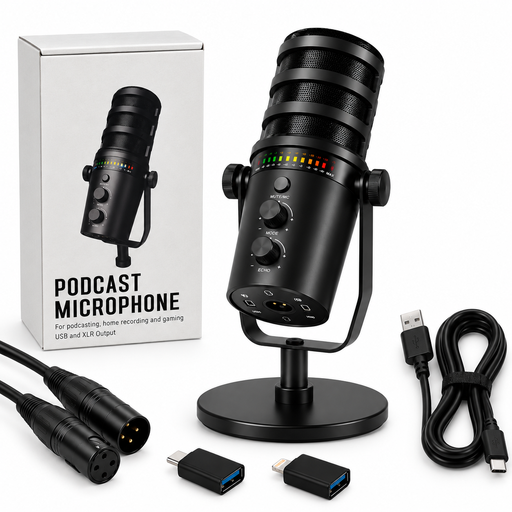 No image available
An option for recording voice on a PC if you also want to consider a gain control, mute function and headphone connection as part of your setup.
Dynamic microphone with USB and XLR outputs and a cardioid pattern. The product description lists a desktop stand and USB and XLR cables.
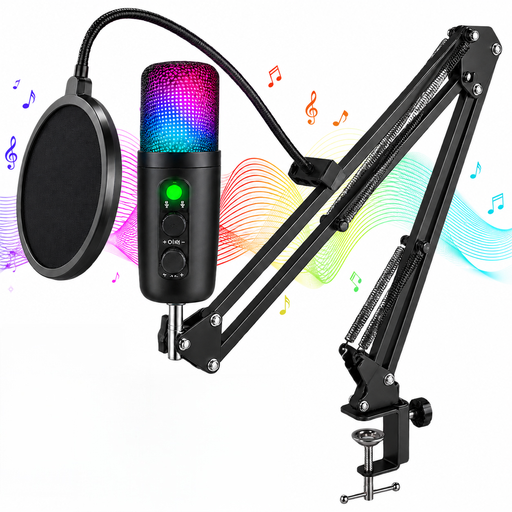 No image available
For recording voice on a PC if you’re considering a condenser microphone with a headphone connection and mute button.
USB condenser microphone with headphone monitoring, mute button and USB-C adapter; the set is described as including a USB cable.
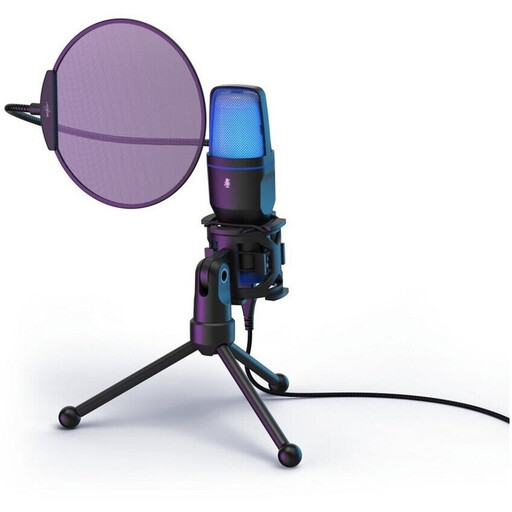 No image available
For a simple USB setup if a pop filter and easy-to-reach mute function are important to you.
USB condenser microphone with an omnidirectional pattern, flexible metal pop filter and touch mute. The specified omnidirectional pattern is less suited to capturing one voice selectively.
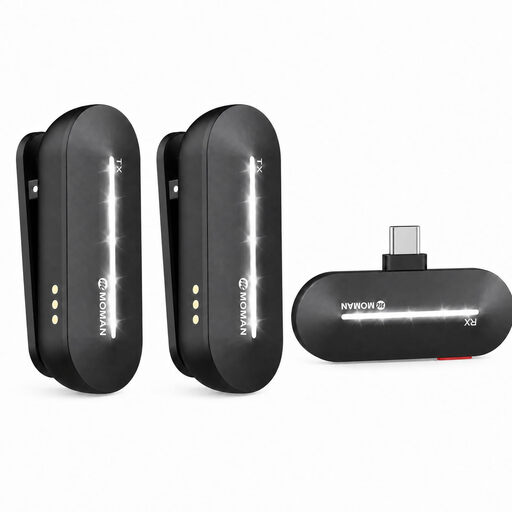 No image available
A more flexible recording option if a USB-C receiver and two transmitters suit your intended use.
The microphones are omnidirectional; the product description lists real-time monitoring on the receiver. This polar pattern is less suited to selectively recording a single voice.
Yes, if you set up the recording accordingly in your software. The OBS Project guide explains how to assign audio sources to individual tracks; this is a recording setting, not a guaranteed feature of every microphone. After a short test, check the tracks in the editing software you plan to use.
Select the USB microphone as your input device, make a test recording and listen back to it. Audacity Support recommends lowering the recording level if the meters turn red or the waveform appears visibly clipped. If you’re recording separate tracks, listen to your voice and game audio separately too.
You don’t need a separate audio interface to record directly over USB on a compatible computer. If you want to use the XLR connection on a suitable microphone, you’ll need an appropriate interface. Also check that the USB cable supplied is compatible with your computer.
Check the microphone position and connections, then listen to a short test recording before starting a longer session. Set the gain so loud sections don’t clip; refer to the instructions for your specific model for cleaning advice.
Check that you have permission before recording other people’s non-public speech: § 201 StGB generally prohibits recording it without authorisation. If other people can be heard in the game chat or in the room, check with them before recording. This law does not provide a blanket answer to the separate question of rights to game footage.