Speakers with expressive voices
If you switch between calm explanations and more emphatic passages, look for an input level that’s easy to control. A test recording of your loudest passage can help you set the level correctly.


When your tutorial commentary varies noticeably in volume, the key things to consider are microphone placement and how easily you can control recording levels. If your room is noticeably noisy, a directional dynamic USB microphone may be a good option. In a quiet space, a directional condenser microphone could also work well. Record a particularly loud passage beforehand and check direct monitoring, connections and—if you want to edit your commentary separately from the programme audio—your recording software settings.
If you switch between calm explanations and more emphatic passages, look for an input level that’s easy to control. A test recording of your loudest passage can help you set the level correctly.
If keyboard, fan or room noise could end up in your recording, microphone placement and polar pattern are important factors to consider. Test the microphone at your actual workstation rather than relying solely on a noise-processing feature in the product description.
If you want to monitor your voice or edit it separately from the programme audio later, check the headphone connection and your recording software’s features. OBS Project explains how to assign audio sources to separate recording tracks.
A good fit if: you speak on your own and your desk setup comes with noticeable background noise.
Consider: Getting the placement right is still important; no microphone or noise-processing feature can guarantee a noise-free recording.
A good fit if: your recording space is quiet and you’re looking for a compact setup with a headphone connection.
Consider: Check the placement and listen out for plosive sounds in a test recording.
A good fit if: you want to manage changes in volume or multiple audio sources using additional software features.
Consider: Advanced settings may require specific software and a compatible operating system; check the requirements for the exact model variant.
| Buying criterion | What to check before buying | Who will find this important? |
|---|---|---|
| Levels during emphatic passages | Gain control and a level meter; record and listen back to a particularly loud passage. | If I get noticeably louder when explaining something, I want to spot distortion in good time. Around 36% of consumers prioritise control over recording levels. |
| Desk and room noise | Polar pattern and potential microphone placement; test it at your own desk with typical background noise. | If my keyboard or a running fan is audible, I want to know how my voice will sound when recorded from the planned position. Around 29% of consumers put reducing background noise first. |
| Direct monitoring | Check for a headphone connection, volume control and support for direct monitoring. | If I want to hear myself speaking without an annoying delay, I need a suitable monitoring setup. Around 21% of consumers prioritise direct monitoring of their voice. |
| Separate audio tracks | Check whether the recording software can record the microphone and programme audio as separate sources or tracks. | If I want to edit my commentary and software audio separately later, the right track settings are essential. Around 14% of consumers prioritise an audio workflow that makes this possible. |
A processing feature won’t automatically stop keyboard or room noise from being audible. Background noise was still audible in the test of the original Shure MV6.
Make a test recording at your own desk while typical background noises are present, then check the result with headphones.
Despite its built-in pop filter, noticeable popping sounds were audible in the test of the RØDE NT-USB Mini.
Record a test passage with emphatic words containing P and B sounds, then check whether the microphone position and distance work for you.
The test of the original Shure MV6 doesn’t automatically apply to the MV6 Gen 2; features and accessories can vary between versions.
Check the full model name and the contents of the specific listing against the details for that exact generation.
If your commentary and programme audio are recorded together rather than on separate tracks, you’ll have less control over editing them individually later. OBS Project explains how to assign audio sources to separate recording tracks.
Before recording a longer screen capture, create a short test file and check the tracks and playback of the exported video.
The UM 6.0 ADVANCED offers switchable polar patterns. For commentary recorded on your own, the cardioid setting is an obvious choice.
The original MV6 is a dynamic USB microphone for voice recording, with Auto Level and a headphone connection. It’s different from the MV6 Gen 2.
The NT-USB Mini is a compact USB condenser microphone with a detachable desk stand and headphone output.
The Wave:3 MK.2 combines a USB condenser microphone with software features for controlling levels and audio mixes.
This selection includes USB microphones for recording voice at your tutorial desk, including dynamic models and other voice recording options.
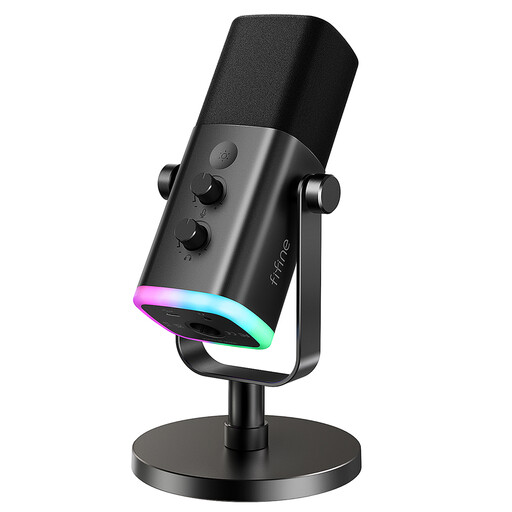 No image available
Its dynamic design and unidirectional polar pattern make it a potential option for recording commentary on your own.
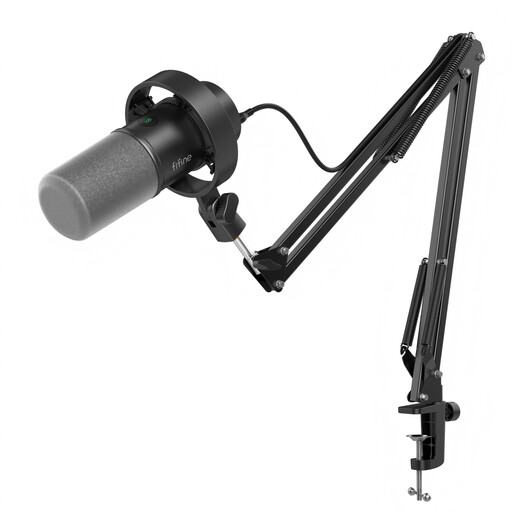 No image available
The kit is described as suitable for desk-based voice recording and offers gain control and headphone monitoring in USB mode.
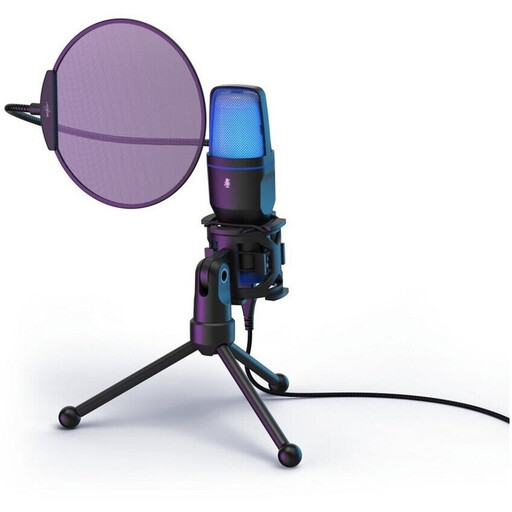 No image available
The product description lists voice-overs and voice recording among its uses. Check the polar pattern especially carefully if your workspace has background noise.
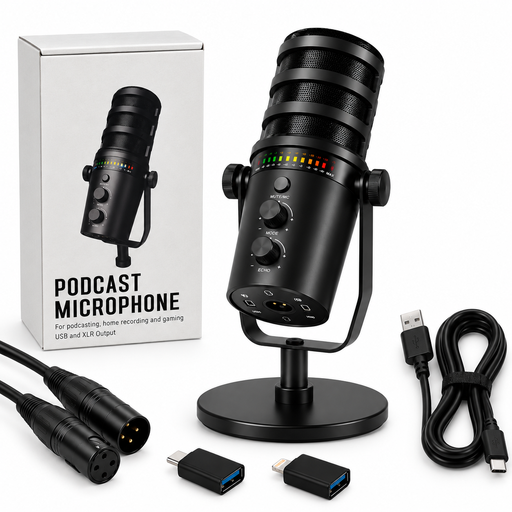 No image available
For expressive commentary, the description lists a cardioid polar pattern, gain control and real-time headphone monitoring.
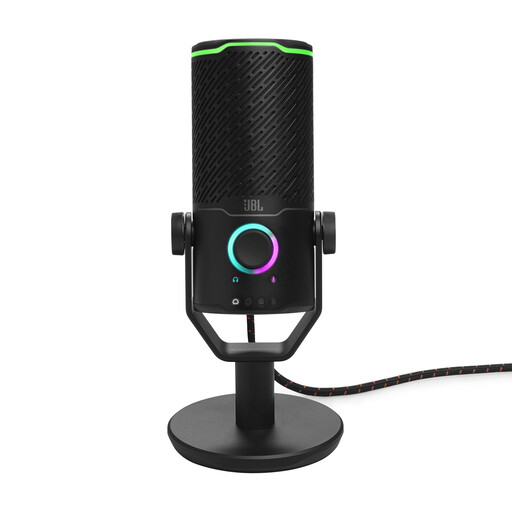 No image available
The listed level control and direct monitoring features may be useful for commentary with changes in volume.
Record an emphatic passage and keep an eye on the input level meter. Audacity Support recommends lowering the recording level if the meter already reaches the yellow or red zone between −9 dB and 0 dB at a normal test volume. This guidance applies to the level meter in Audacity and isn’t a universal threshold for every microphone.
Software monitoring can cause a noticeable delay. Audacity Support describes hardware monitoring as a direct signal path through the audio device; check whether your microphone and headphones support this monitoring method.
Yes, if your recording software supports separate tracks and you assign the audio sources accordingly. The OBS Project guide explains how to assign tracks; also check playback afterwards, as standard video players may only play one audio track at a time.
Check the computer connection, cable, desk stand or microphone arm, and headphone connection against the exact model variant. RØDE lists a USB-C-to-USB-A cable with the NT-USB Mini; Shure lists a USB-C-to-USB-C cable and a desk stand for the original MV6.
When consumers buy online, they generally have a 14-day right of withdrawal, subject to the statutory requirements; this doesn’t apply to private sales. According to the Verbraucherzentrale, retailers are generally responsible for two years for ensuring that goods were free from defects when delivered. Check the seller, withdrawal information and any return postage costs for the specific offer.