Teachers carrying out experiments on a table
If you want to show colours, containers or paper close up as you mix, look for a stable position above the work surface and a suitable frame.


For a mixing area that needs to be filmed continuously, with containers, paper and hands in view, an adjustable document camera is usually the better starting point. If you’ll mainly be explaining things on camera and only occasionally need to show the table, a webcam that tilts down may work well. Check the framing, focus, connections and colour reproduction with your room lighting and the display you’ll actually use: a high resolution alone doesn’t guarantee colour accuracy.
If you want to show colours, containers or paper close up as you mix, look for a stable position above the work surface and a suitable frame.
If you’ll mainly be explaining things yourself and only occasionally showing materials, consider a webcam with a suitable angle for a view of the table.
If you want the image to appear on an existing display without using an additional computer, check that the camera’s video output matches the inputs on your monitor or projector.
A good fit if: you want to show the mixing area from above, including close-ups from different distances.
Things to consider: You may need space to set it up, plus a suitable computer or compatible display system; resolution alone doesn’t guarantee colour accuracy.
A good fit if: you’ll usually be speaking to camera and only occasionally need a view of the table.
Things to consider: Check that the mount gives you the angle you need; specifications for displaying faces don’t guarantee colour accuracy during mixing demonstrations.
A good fit if: you want to connect directly to a compatible HDMI monitor or projector, without an intermediate computer.
Things to consider: Make sure the connection, cable routing and colour reproduction across the whole display chain suit your setup.
| What you need | What to check when buying | Who this matters most to |
|---|---|---|
| Show colours clearly | Check the white balance and lighting controls for the exact model, then test your mixtures under typical room lighting on the display you plan to use. | If I want to show shades clearly under my classroom lighting, it’s important to try the camera with my actual setup; around 36% of consumers are likely to put this first. |
| Capture the mixing area clearly | Compare the work surface with the camera’s capture area, then check focus and framing with the containers or sheets you plan to use. | If the class needs to see both the process and small changes in the mixing area, I need a suitable frame and clear detail; around 29% of consumers are likely to pay particular attention to this. |
| Connect to display equipment | Check that the camera’s outputs match the inputs on your computer, projector or monitor; USB and HDMI use different signal paths. | If I want to use the camera with my existing classroom equipment, the connection needs to work with the device; around 21% of consumers are likely to prioritise connections and projection. |
| Make the setup easy to use | Check that you can adjust the camera view, focus and lighting within the time you have to prepare. | If you want to minimise adjustments during the experiment, it’s important to have a setup you can manage easily; around 14% of consumers are likely to prioritise ease of use. |
Resolution specifications don’t show how your chosen colours will look under your room lighting or on the classroom display.
Test your colour mixtures with the lighting and display equipment you plan to use. Also check which white balance settings the specific model supports.
A presentation mode alone doesn’t tell you whether the camera will capture the whole work surface and your hands from your chosen position.
Set up a trial version of your planned experiment and check the angle and focus before buying.
You may need an extra mount or additional setup to get the position you want.
USB and HDMI can use different routes to the display. Check the connections on the specific camera model and your existing equipment.
Make sure the camera’s outputs match the inputs on your monitor or projector.
Depending on the signal path, you may need a computer, adapter or extra cable for your setup.
USB document cameras such as the V4K offer an adjustable view of teaching materials.
The HD Pro is a flexible USB camera for teaching materials and occasional changes of angle.
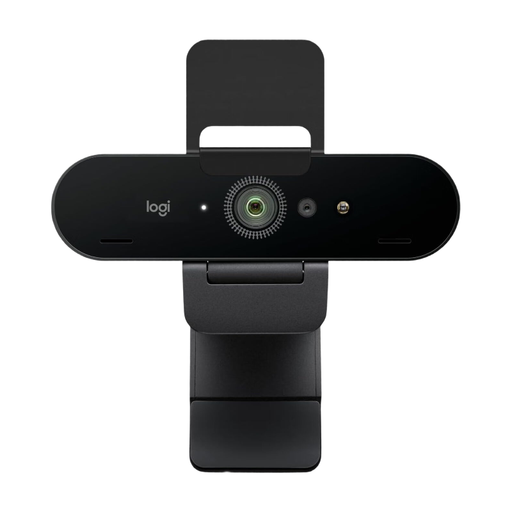
The MX Brio is a webcam for explanations, with the option to show the table occasionally.
The U50+ is a document camera with a flexible arm for classroom work surfaces.
The MX-P3 is worth considering if you need both USB and a direct connection to compatible HDMI display equipment.
These webcams may suit explanations on camera with the option to show the table. Before buying, check that the angle and positioning will capture your specific experiment.
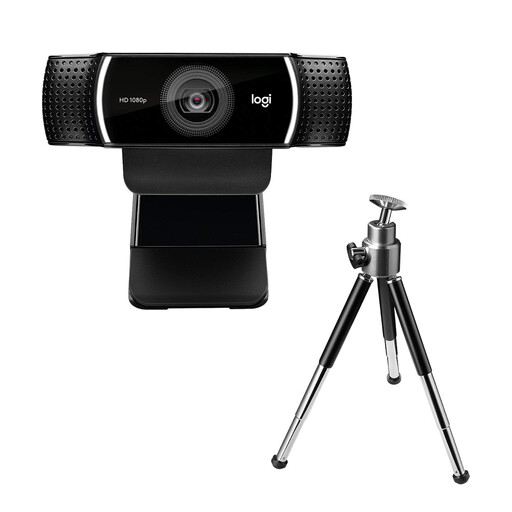 No image available
Autofocus and the adjustable stand may be useful when showing different subjects on the table; check that it can reach the position you need.
1080p at 30 fps or 720p at 60 fps; 78° field of view; autofocus and light correction; stand extends to 18.5 cm; USB cable.
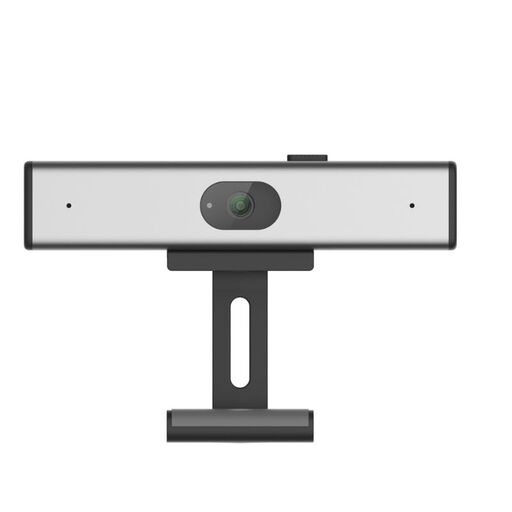 No image available
Automatic light correction may be useful when lighting varies; still, test how your mixed colours look with your own setup.
Full HD with 1080p at 30 frames per second; noise-cancelling microphone; clip for laptop or monitor, plus tripod mount.
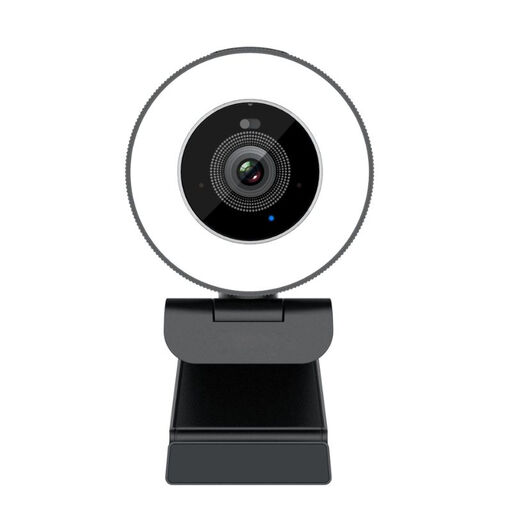 No image available
The product description lists a clip and tripod mount for flexible positioning. Check whether they’ll give you the table view you need.
1080p at 30 frames per second; noise-cancelling microphone; clip for laptop or monitor, plus tripod mount; automatic light correction.
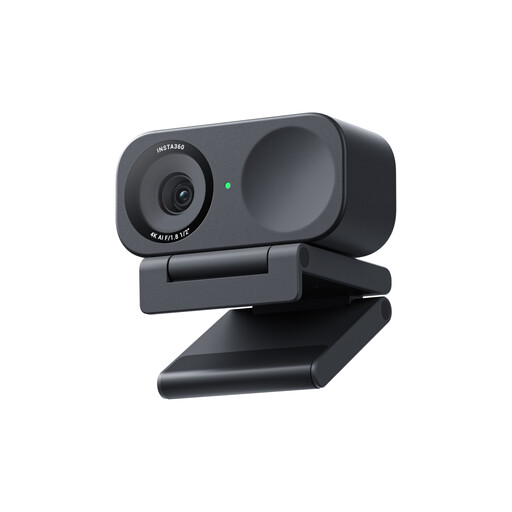 No image available
DeskView mode is designed to give you an overhead view. Check whether it captures the whole mixing area as needed at your workstation.
4K webcam; DeskView mode; PDAF autofocus; HDR.
 No image available
Adjustable field-of-view presets can be useful when you need different framing. Test whether one of them suits the view of your experiment table.
4K video; 5× digital zoom; three field-of-view presets; autofocus and automatic light correction.
No. A higher resolution alone doesn’t guarantee colour accuracy under your room lighting or on your screen. Test the colours you plan to use with the intended lighting and across the whole display chain.
It depends on the focus type. HUE says the HD Pro’s focus ring is adjusted by hand and may need to be turned again when the distance changes; the other models mentioned are listed as having autofocus features.
Only if the specific camera model has a video output that’s compatible with your display. ELMO lists HDMI for the MX-P3; for the IPEVO V4K, IPEVO lists USB-UVC, not HDMI.
Check whether you’ll need a compatible computer, cable or adapter for the signal path. Compare the camera’s outputs with the inputs on your monitor or projector.
This depends, among other things, on whether people are in shot and how the footage will be used. Where possible, point the camera at the experiment only and check the applicable requirements with the school responsible. The NRW Education Portal explains requirements for video conferences and publishing recordings; this guidance is not a blanket approval that applies throughout Germany.