Relevant brands and product ranges
The specifications below relate to the product ranges listed and come from their respective manufacturers. They’re useful for comparison, but you should still check how the light performs, how it fits your setup and what’s included.
Godox
The P260C Pro is a bi-colour panel worth considering for small still-life setups and flexible arrangements.
- Godox lists a colour temperature range of 2800–6500 K, 45 W power and an average CRI of at least 98 for the P260C Pro.
- Manufacturer specifications don’t prove independently measured superiority. Check the power supply, mounting options and brightness in your own setup.
Rollei
The LUMIS LED Panel Bi-Color and its two-light bundle are worth considering if you’re planning one or two additional lighting positions.
- Rollei lists a colour temperature range of 3200–5600 K and a CRI above 96 for the LUMIS.
- According to the manufacturer, optional NP-F750 batteries are required for battery power. Two panels may be more kit than you need for a single fill light.
NEEWER
The NL660 Bi-Color is an adjustable panel light. Check the exact version to make sure it suits your intended setup.
- NEEWER lists a colour temperature range of 3200–5600 K, a CRI of at least 96 and an included diffuser.
- A battery and stand aren’t confirmed as included with every version; the stand isn’t listed as included with the “NL660 Only”. The manufacturer notes that it has lower brightness than a single-colour LED version.
DÖRR
The DLP-70W is a larger bi-colour panel light, which DÖRR also describes as suitable for food photography.
- DÖRR lists a colour temperature range of 3200–5500 K, a CRI above 95, a diffuser and barn doors.
- At around 58 × 38 × 10 cm and 4365 g, it takes up a lot of room for a small tabletop setup. The V-mount battery is optional.
amaran
The P60x is a more directional bi-colour panel worth considering if you want to position the light precisely.
- amaran lists a colour temperature range of 3200–6500 K, a 45° beam angle and a CRI of at least 95. The brand also gives an output of 5070 lux at 1 m and 5600 K.
- Its focused beam doesn’t guarantee soft lighting across a larger area of fruit or vegetables. Check whether you’ll need additional diffusion.
Joybuy products for photo and video lighting
This Joybuy selection includes photo and video lights with adjustable lighting modes for added illumination. For each model, check that its adjustment range, mounting options and power supply will work with your window-light setup.
 No image available
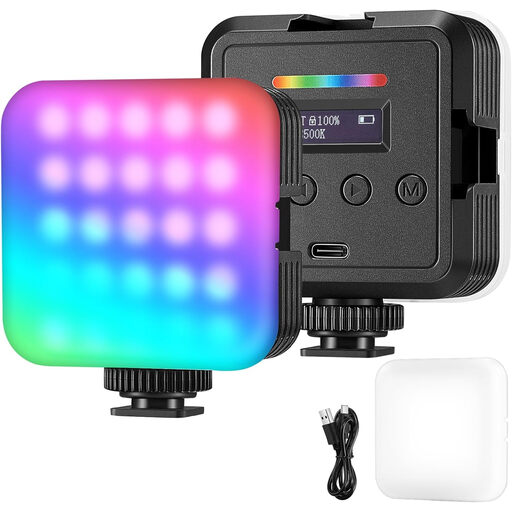
RGB LED video light for photography and video
A good fit if you’re looking for a portable photo and video light with adjustable brightness and colour temperature.
Lighting modes: RGB, white and warm light. The description mentions a built-in battery or USB power.
View at Joybuy
 No image available
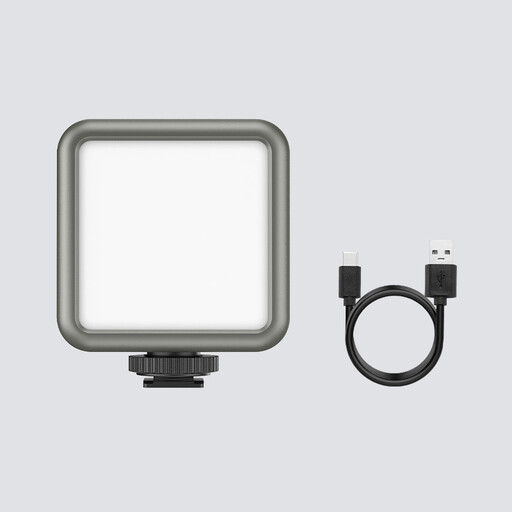
ULANZI VL49 RGB video light
An option for macro and product photography if you’re looking for a compact, dimmable light with magnetic mounting.
Colour temperature: 2500–9500 K. Battery: 2000 mAh. The product name specifies a magnetic mount on the back.
View at Joybuy
 No image available
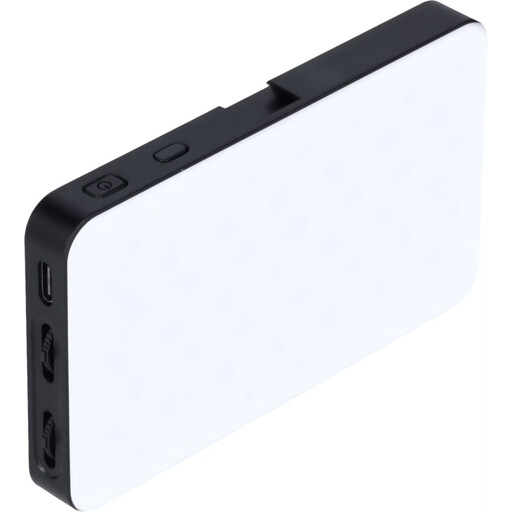
Rollei LUX Compact RGB LED Light, 8W
A good fit if you’re looking for a compact photo and video light for different shooting setups.
Power: 8 W. The product name specifies 360 colours, bi-colour and app control. According to the product information, battery life at 100% is around 80 minutes.
View at Joybuy
Frequently asked questions
Can a white card by the window do the job instead of an LED panel?
Yes, if your main aim is to brighten the shadow side and there’s enough window light: place the card opposite the window. If you need additional adjustable light or more repeatable results, a panel may be a better fit.
How should I position an LED panel beside a window?
Start by using the window as your directional key light, then see how fill light from the opposite side changes the shadows. Adjust the panel’s brightness and direction to suit your subject. If needed, use a diffuser that’s compatible with the model.
How can I avoid colour casts from window and LED light?
Adjust the colour temperature of the panel to suit the shooting conditions, then check the white balance using a neutral card in the actual lighting. A Kelvin or CRI figure alone can’t guarantee that both light sources will render colours identically.
Which accessories should I check before buying?
Check whether a stand, diffuser and power adapter are included with the exact version, and whether you’ll need a compatible battery for battery power. This will help you plan the complete setup.
Does an LED photography panel need CE marking in Germany?
If the specific electrical product falls under harmonised EU legislation requiring CE marking, it must meet the relevant requirements and carry the marking. The Low Voltage Directive applies to equipment with a rated voltage of 50–1000 V AC or 75–1500 V DC. Whether it applies to a particular panel or power supply depends on its rated voltage; CE marking is not an independent certification mark.


